Quick & Easy DIY Wall Art
Making your own DIY wall art is easy and a great way to decorate a room without spending big bucks on art. We are sprucing up the girls' bathroom on a very narrow budget so creating the wall art myself was a huge money saver! I adore the sweet flowers, and I am sharing my fabric flower tutorial with you today, too!
I started with an old plaque I got at a garage sale. You can see how it looked before HERE. I had 4 of them and each was uglier than the next. I turned some of them into pictures of my girls but I had one left over.
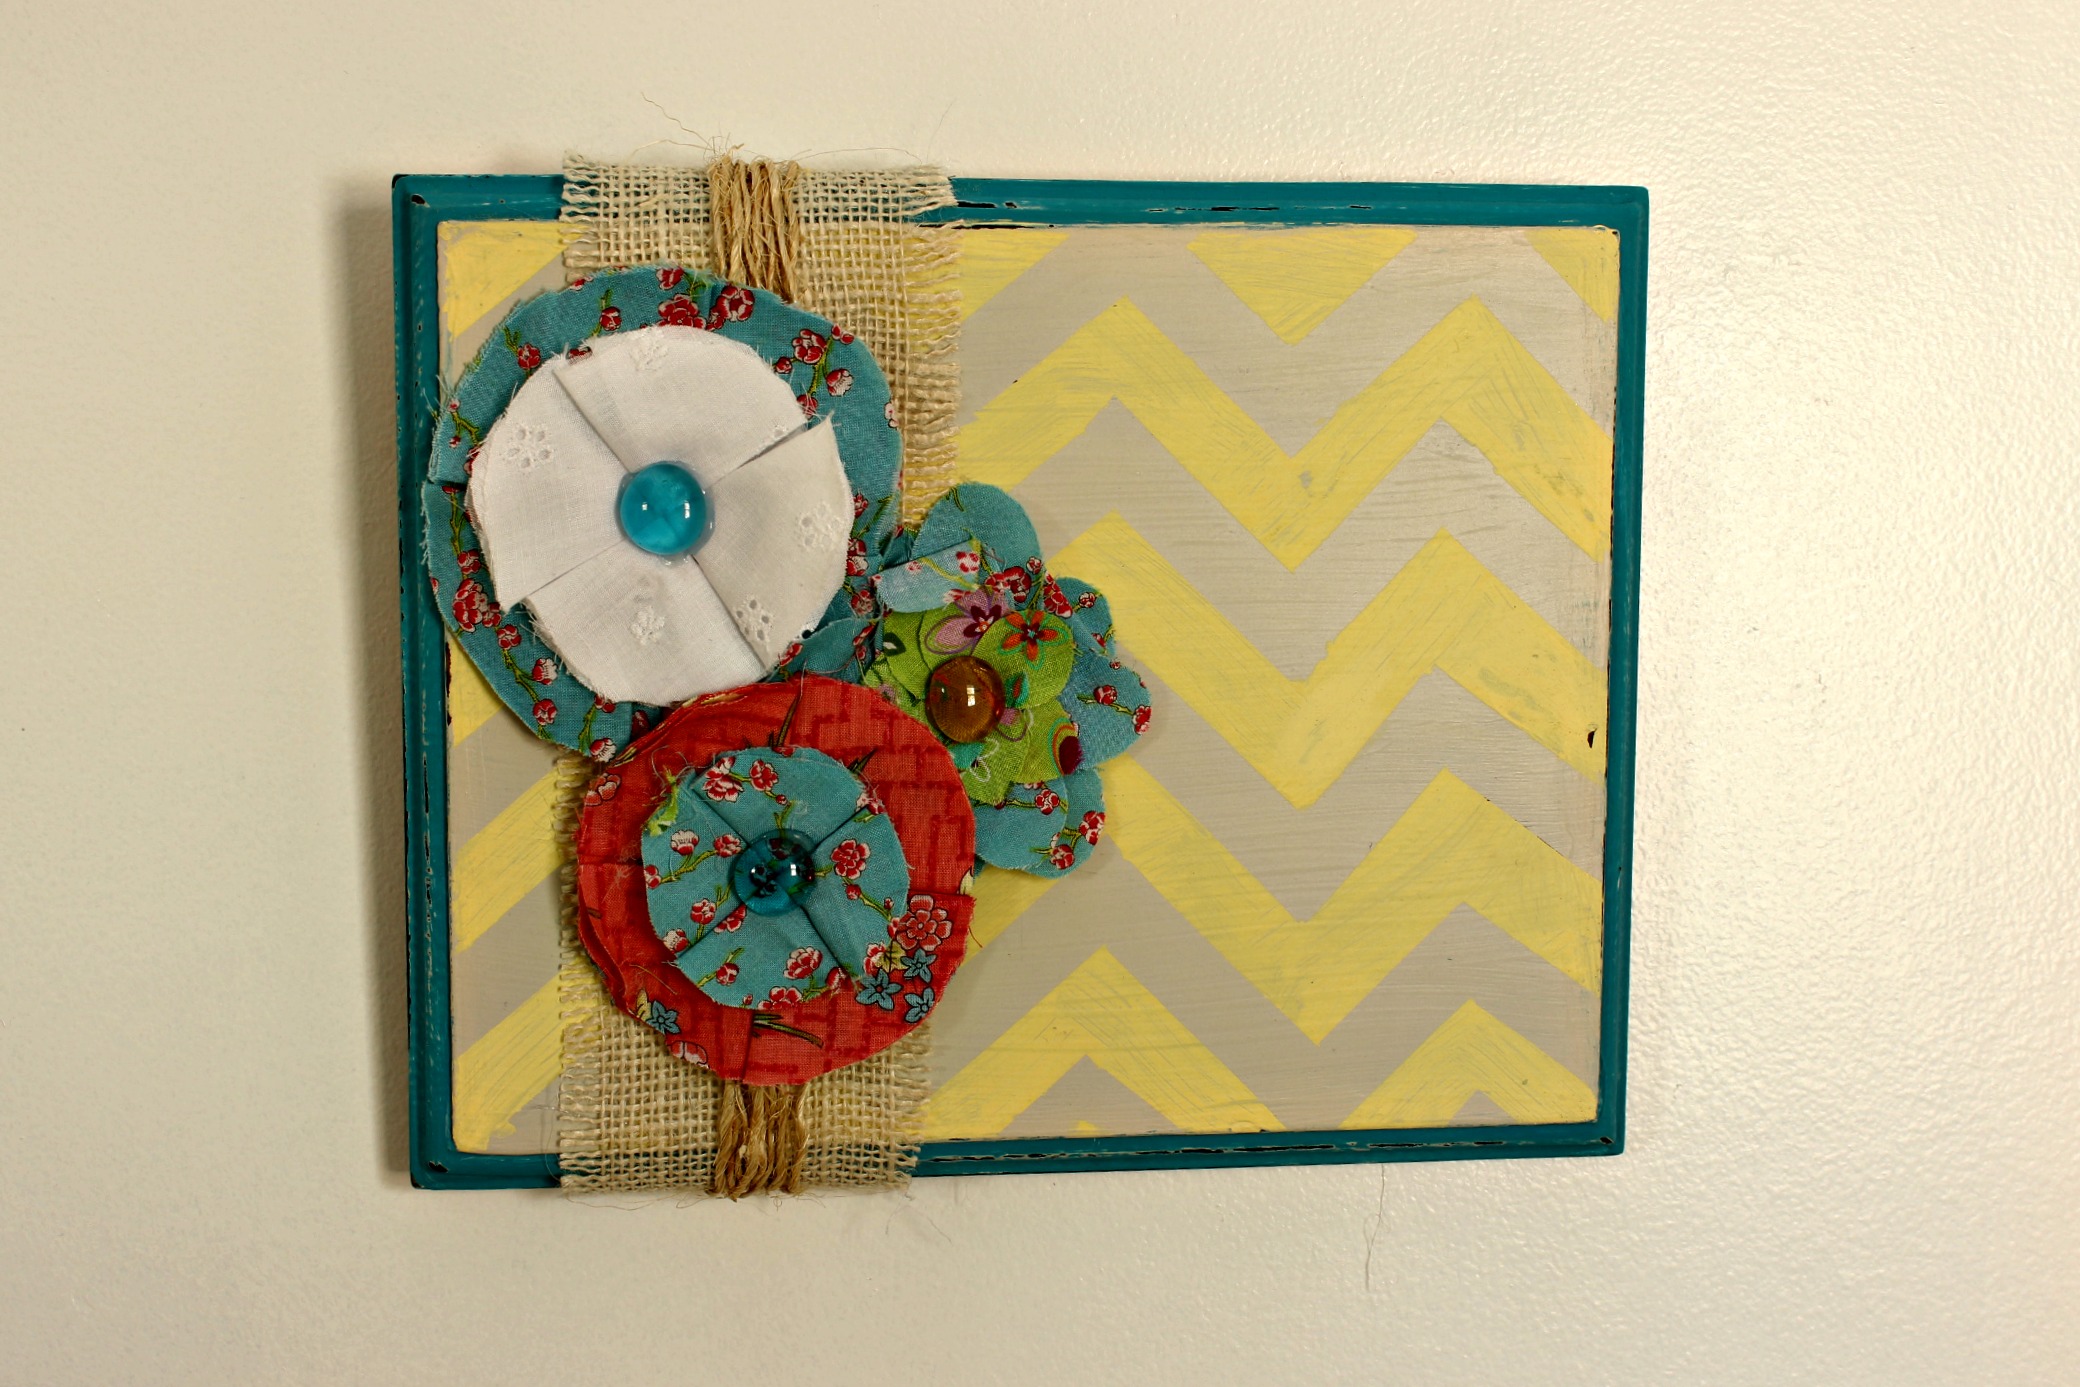
The process to make this DIY wall art is easy. I coated the whole thing in pale gray paint, painted the edges teal with craft paint, taped off a chevron pattern, and painted over it with pale yellow craft paint. After it was completely dry, I used my glue gun to adhere a strip of burlap and some twine. Then I hot glued on these simple fabric flowers I had made eons ago but had never used. The end result is a sweet piece of wall art that brightens up the girls' bathroom! (By the way, you can check out more about sprucing up this bathroom HERE.)

There are other tutorials for making fabric flowers out there but here is my fabric flower tutorial and the way I made these.
Supplies: 2 different fabrics, felt, glue gun, embellishment (button, bead, etc.)
Cut 4 large circles and 4 smaller circles out of the fabric of your choice, and one rectangle out of felt.

Starting with your large circles, fold a circle in half , add a dot of hot glue, and then carefully fold it in half again.


Glue your folded circle onto your felt with the folded side toward the middle of the felt and the open parts toward the sides. Glue your next folded circle the same way. Make sure the folded sides are next to each other. Continue with the remaining two large circles.


Turn your felt 90 degrees and layer your smaller circles, folded in the same way, on top of the larger folded circles.

Hot glue your embellishment in the center. I have used sparkly beads, buttons, and small rosettes. This time I used those glass beads you can buy at the dollar store. You can also keep adding layers of smaller sized circles to your fabric flower to make it fluffy and fuller.
Trim your felt edges so they don't show from the front.

And there are so many ways you can use these such as on headbands, decorating a tote bag, pins, really so many things!

Or use them to adorn some easy DIY wall art! Hope you enjoyed my little fabric flower tutorial, too! Thanks for visiting!
Jenny
You can find me at


Love your wall art! Bright and cheerful. Your flowers are really pretty and be easy to make, I will have to remember these for next time I make some burlap flowers maybe I can do this for the centers. Pinning!
ReplyDelete