Days of Chalk and Chocolate - Holidays Days of Chalk and Chocolate: Holidays - All Post
Showing posts with label Holidays. Show all posts

Last Minute Fourth of July Marshmallow Pops

Share It:
These patriotic marshmallow pops make the perfect last minute 4th of July treat!  They were super easy to whip up. In fact, it is a great dessert to make with kids, Molly and Ellie did these by themselves!  Aren't they cute?  Even if you can't find the star shaped marshmallows, the red, white, and blue, sugars would make any marshmallow perfect for a holiday get together!


You'll need lollipop sticks, white melting chocolates (I used the wafers you find in craft stores), and  red and blue sprinkles or sugars.

1. Melt the candy wafers in the microwave.
2. Dip the end of the lollipop stick into the chocolate and then into the marshmallow. The melted candy will help the marshmallow stick to the stick.
3. Dip 3/4 of the marshmallow into the melted white candy/chocolate.
4. Sprinkle with the red and blue sugars or sprinkles.


So cute, so easy, and very kid friendly.

Happy 4th of July, my dear friends!  Let freedom ring!

Cheers!
Jenny

4th of July Ideas! Recipes, Decor, Crafts

Share It:

Patriotic Scrap Bunting

Share It:

Memorial Day weekend is almost here. And while it is a solemn occasion, it is also a time to honor our country and its heroes.  

Have you been getting into the spirit of the holiday with patriotic crafts?  I did! I created a quick and easy patriotic bunting but I used red, white, and blue in a more subtle way. This way, it doesn't scream "FLAG!" and I can use it throughout the summer!

patriotic bunting 
I selected my fabrics and created a triangle template from cardboard. Then I traced each piece and cut each pennant with pinking shears. 
I cut a long strip of fabric about an inch wide. I folded 1/2 " in on each side and pressed it down.

patriotic bunting

Then I folded it longways in the middle and pressed it again.
patriotic bunting

I pinned each triangle inside the fold of the fabric strip and then ran it straight through my sewing machine. It was that easy!
patriotic bunting

I love that it is red, white, and blue...festive!
patriotic bunting


patriotic bunting

I purchased these fabrics for this bunting project but wouldn't this be a great way to get rid of some scrap fabric?

patriotic bunting 8

If you enjoyed this post , you can also follow me these ways:

Jenny

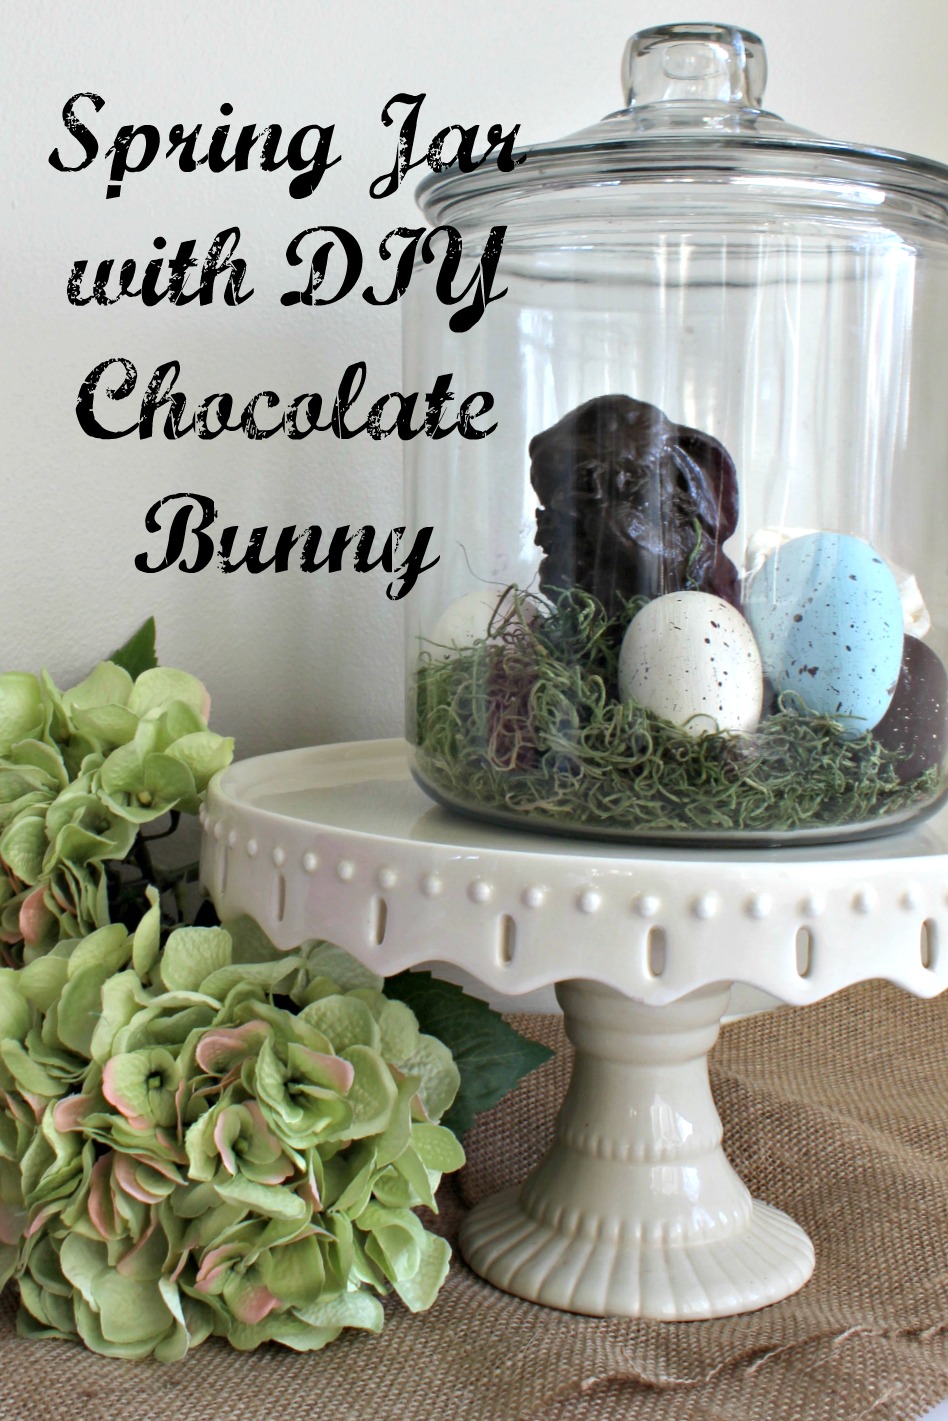
Easter Spring Decor Jar/DIY Chocolate Bunny

Share It:

Spring can't get here quickly enough for me!  I long for pastel colors, flowers, and warmer days and since I have no patience  I am forcing Mother Nature's hand. I have begun adding some spring touches here and there around the house. Just having the lighter, fresher decor around makes me feel happier and helps to banish some of the winter blues!  

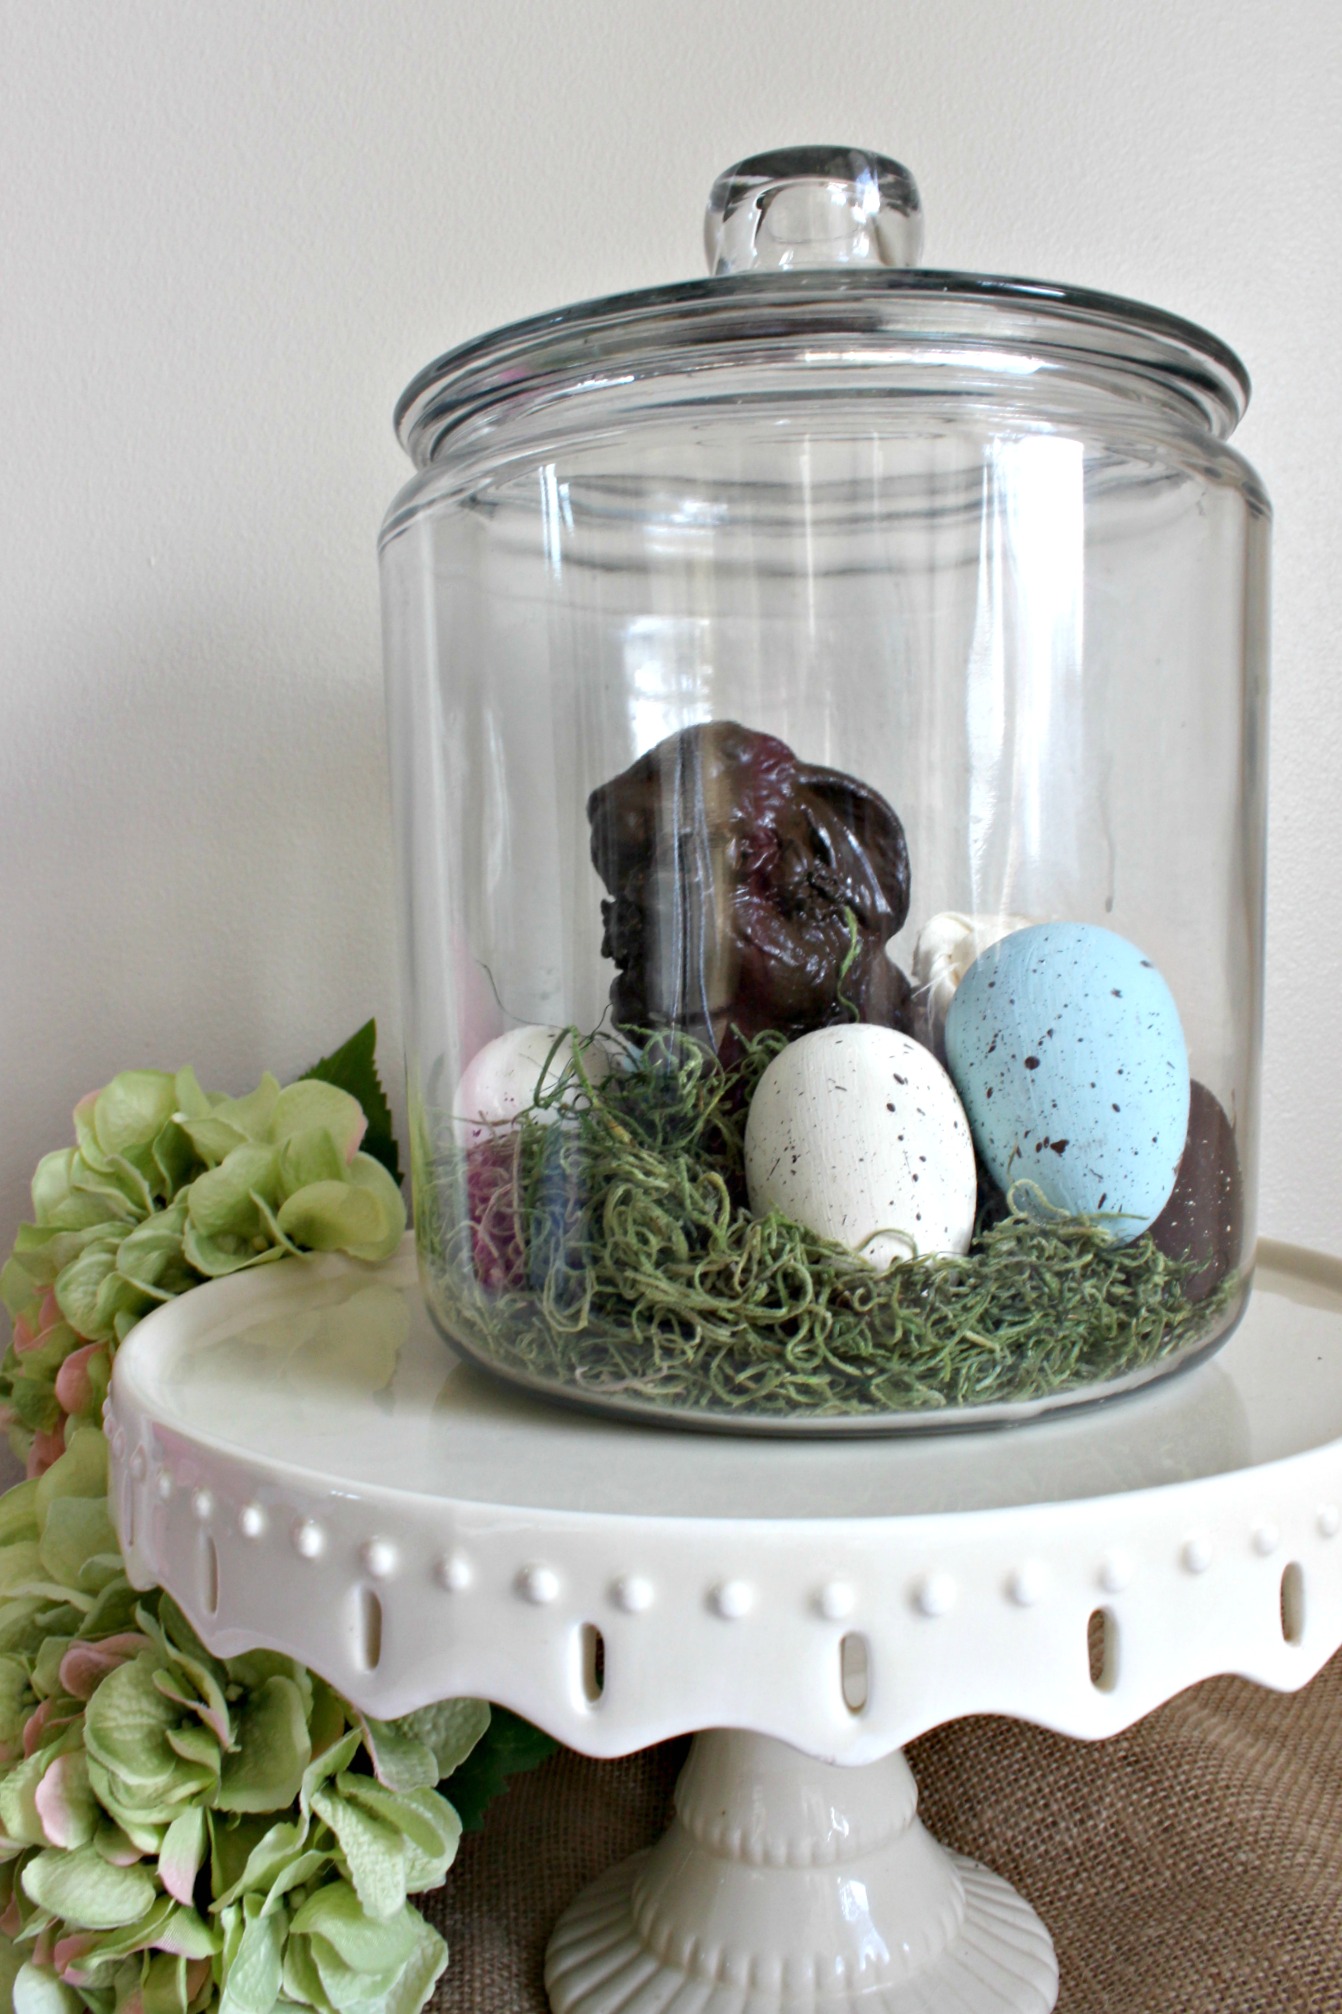
Today, I used some thrift store and found objects to make sweet spring jar decor!  I can't wait to show you how that little chocolate bunny came to be!

Spring Jar Decor

I was cruising through a thrift store last week and snagged this bunny for $1. He was cute as is but I knew he'd look better drenched in "chocolate."

springjar1
springjar3

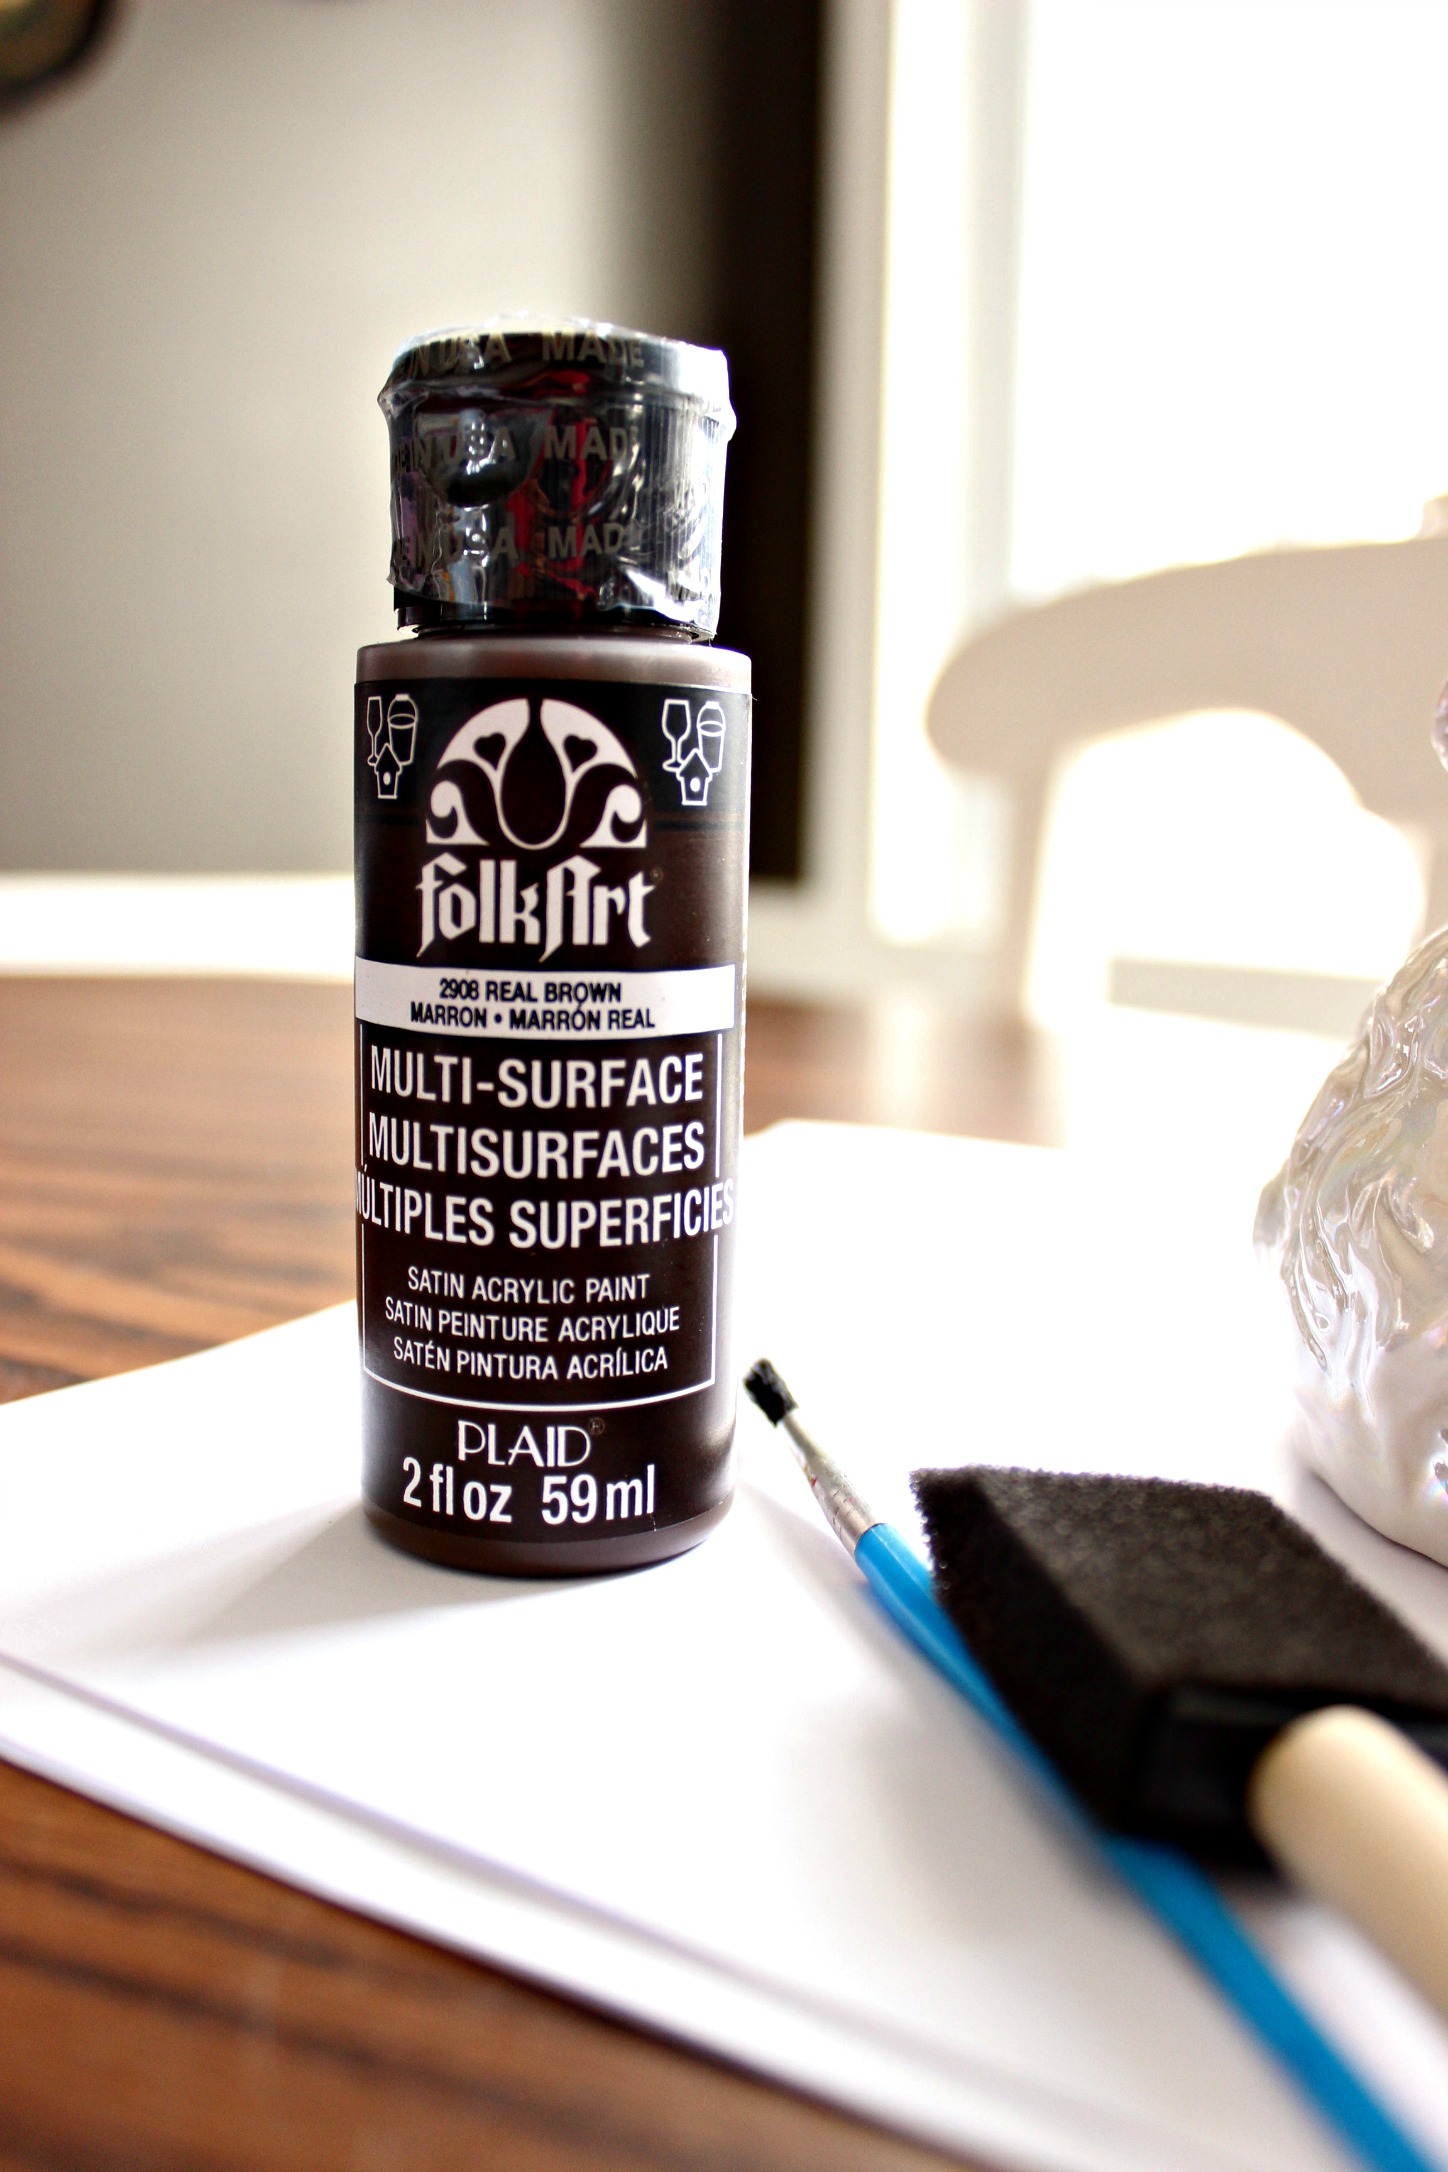
Using a sponge brush, I coated him with 3 coats of dark brown colored craft paint. I used a small brush to get into his nooks and crannies.

faux chocolate bunny

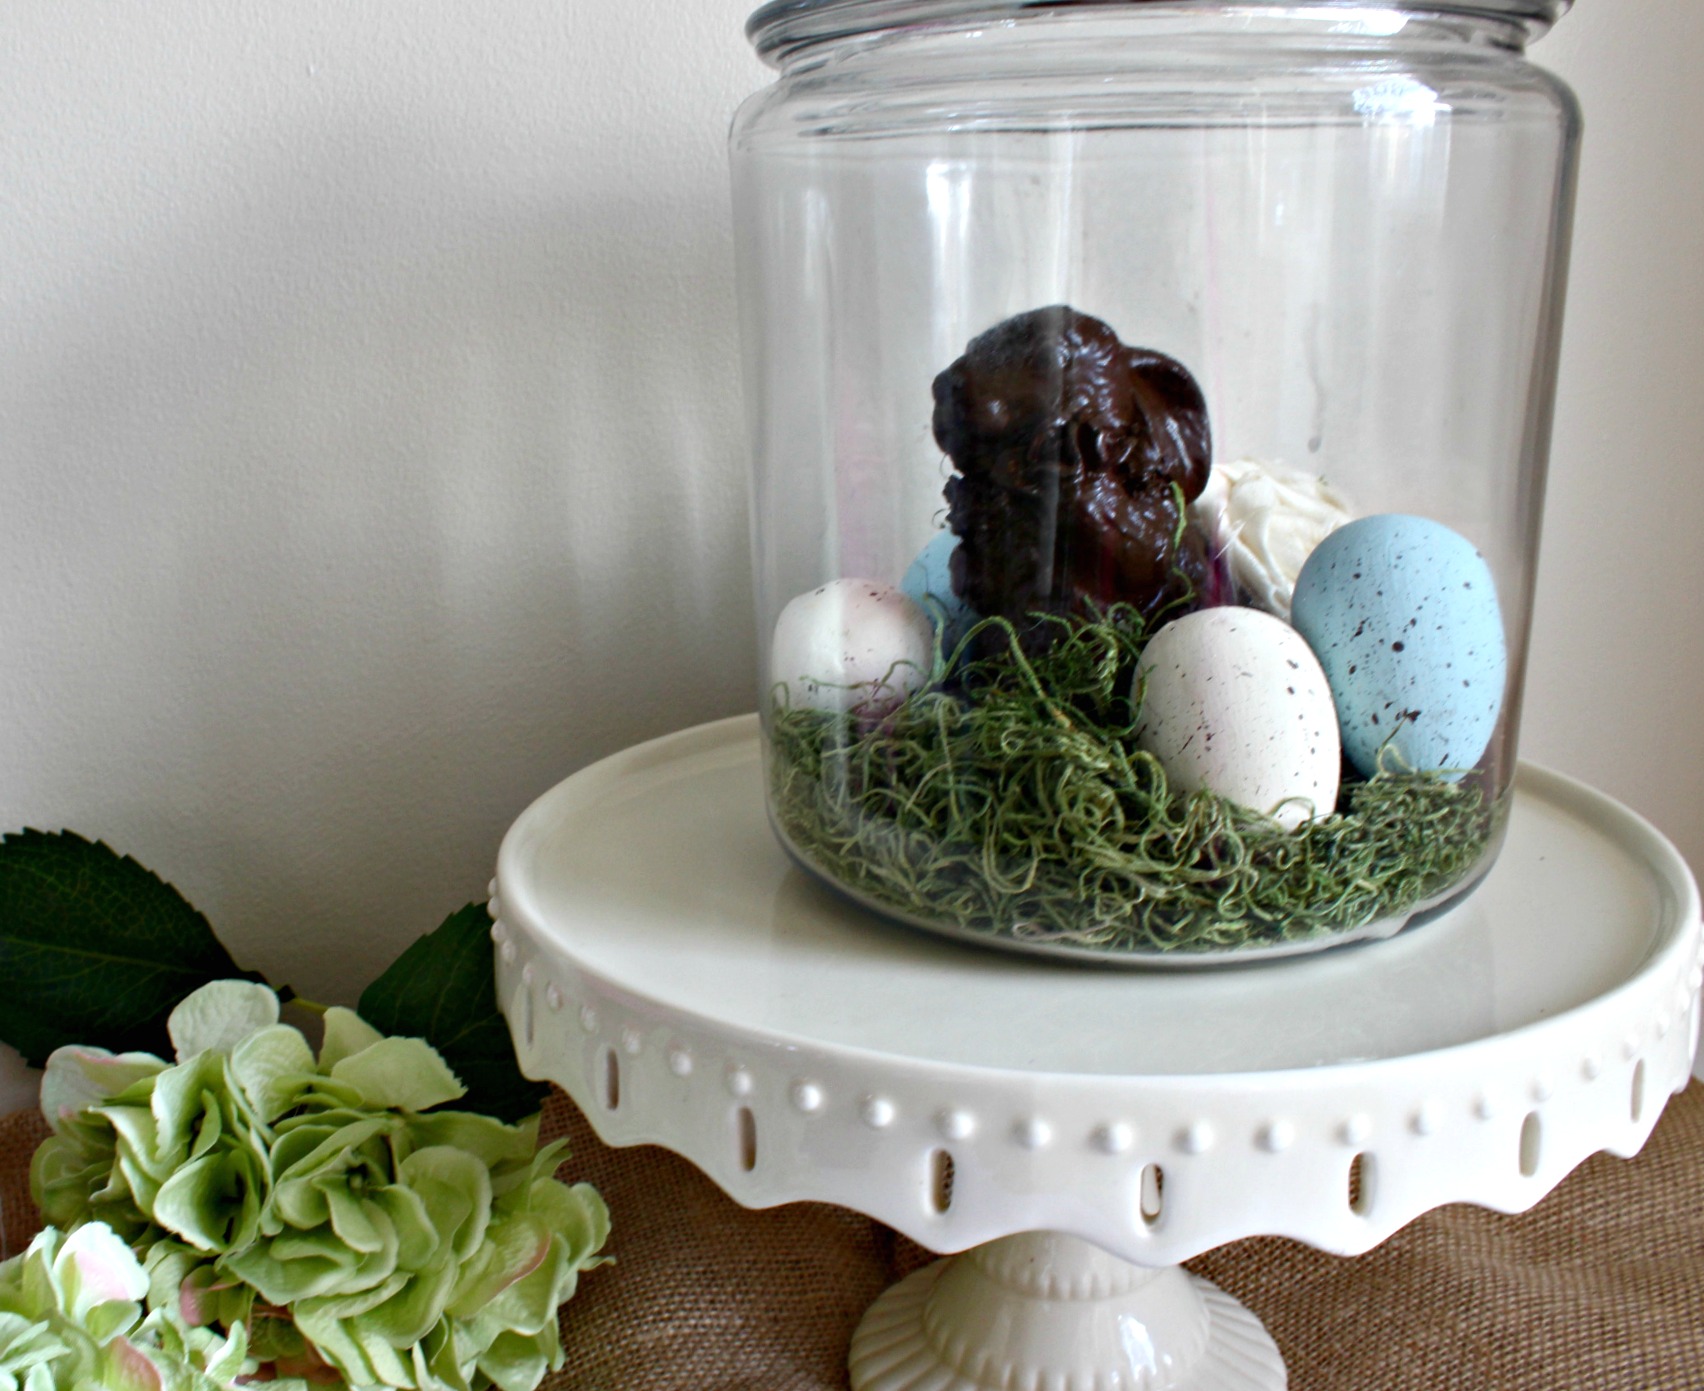
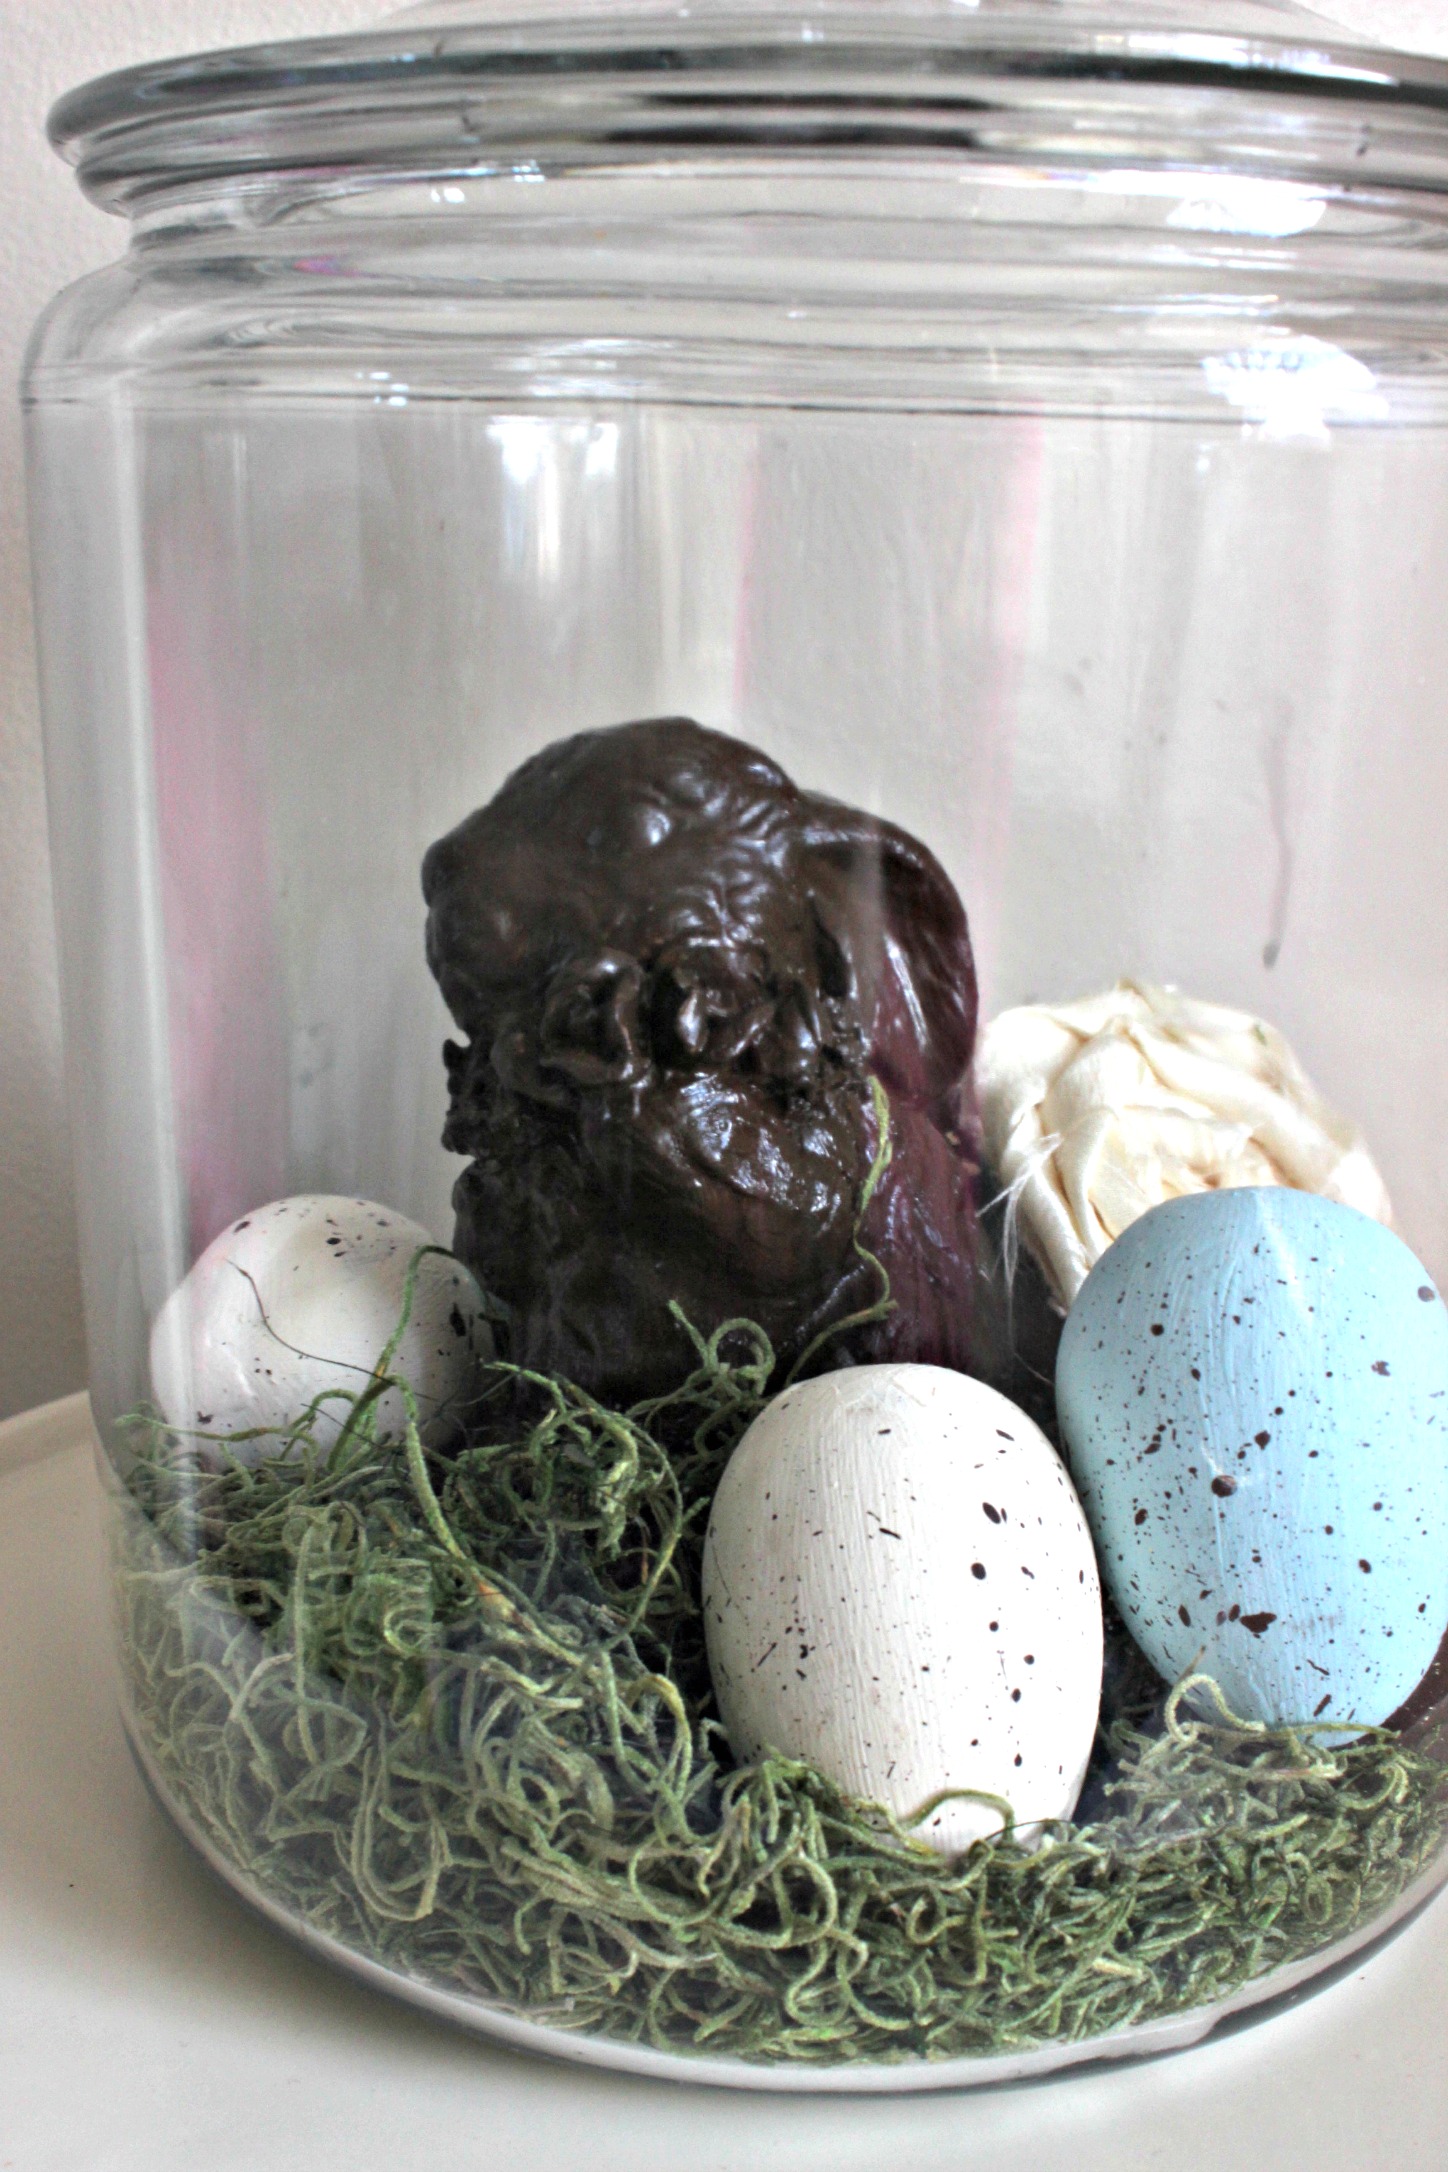
When he was dry, I nestled him in a jar with dollar store moss (I had leftover from my DIY spring topiaries) and the wooden speckled eggs I painted a few years ago. A rolled fabric flower added the final touch!  I think he likes his new home and color, don't you?

springjar13
springjar12

springjar8
springjar7

springjar6

There are so many ways to fill spring jars. I am thinking of some pink silk peonies would be lovely or porcelain fairies with some little toadstools!  What would you put in a spring jar? 
 Thanks for visiting!
Jenny


Easter Egg Chalkboard Place Cards

Share It:
Hi Friends!   I whipped up some Easter egg place cards recently and they were so easy and fun to make!  I feel like chalkboard is the craft/decor world's little black dress in that it is always appropriate and it will never go out of style! 

daysofchalkandchocolatechalkeggs5

While browsing through Wal-mart the other day I came across these plastic eggs. I like them because they are dyeable with regular egg dye and they don't open so there is no little line around the middle. Brilliant!

chalkboard eggs1

To spray paint the eggs with chalkboard paint, I placed them back in the egg carton but skipped every other section. This keeps them from flying away when the spray hits them. These eggs are very light.

daysofchalkandchocolatechalkeggs2

I sprayed the top half with a good coating of the chalkboard paint. 
easter chalkboard place cards
Let them dry. Once dry, flip each egg over and spray the other side.
easter chalkboard place cards

Once that half was dry, I used a chalk paint pen, available at most craft stores, to write each name. 

easter chalkboard place cards

I think these chalkboard place cards would be cute for Easter brunch or an informal dinner.

easter chalkboard place cards

The chalkboard theme gets carried to the centerpiece too. I painted a thrift store frame with chalk paint and sprayed the glass with chalkboard paint. It makes a cute tray for other little Easter decorations.

easter chalkboard place card


Thanks so much for visiting today!  You can always follow me these ways:

Facebook

Twitter

Instagram

Pinterest


Thank you!
Jenny 

DIY Easter Candy & Favor Bags

Share It:

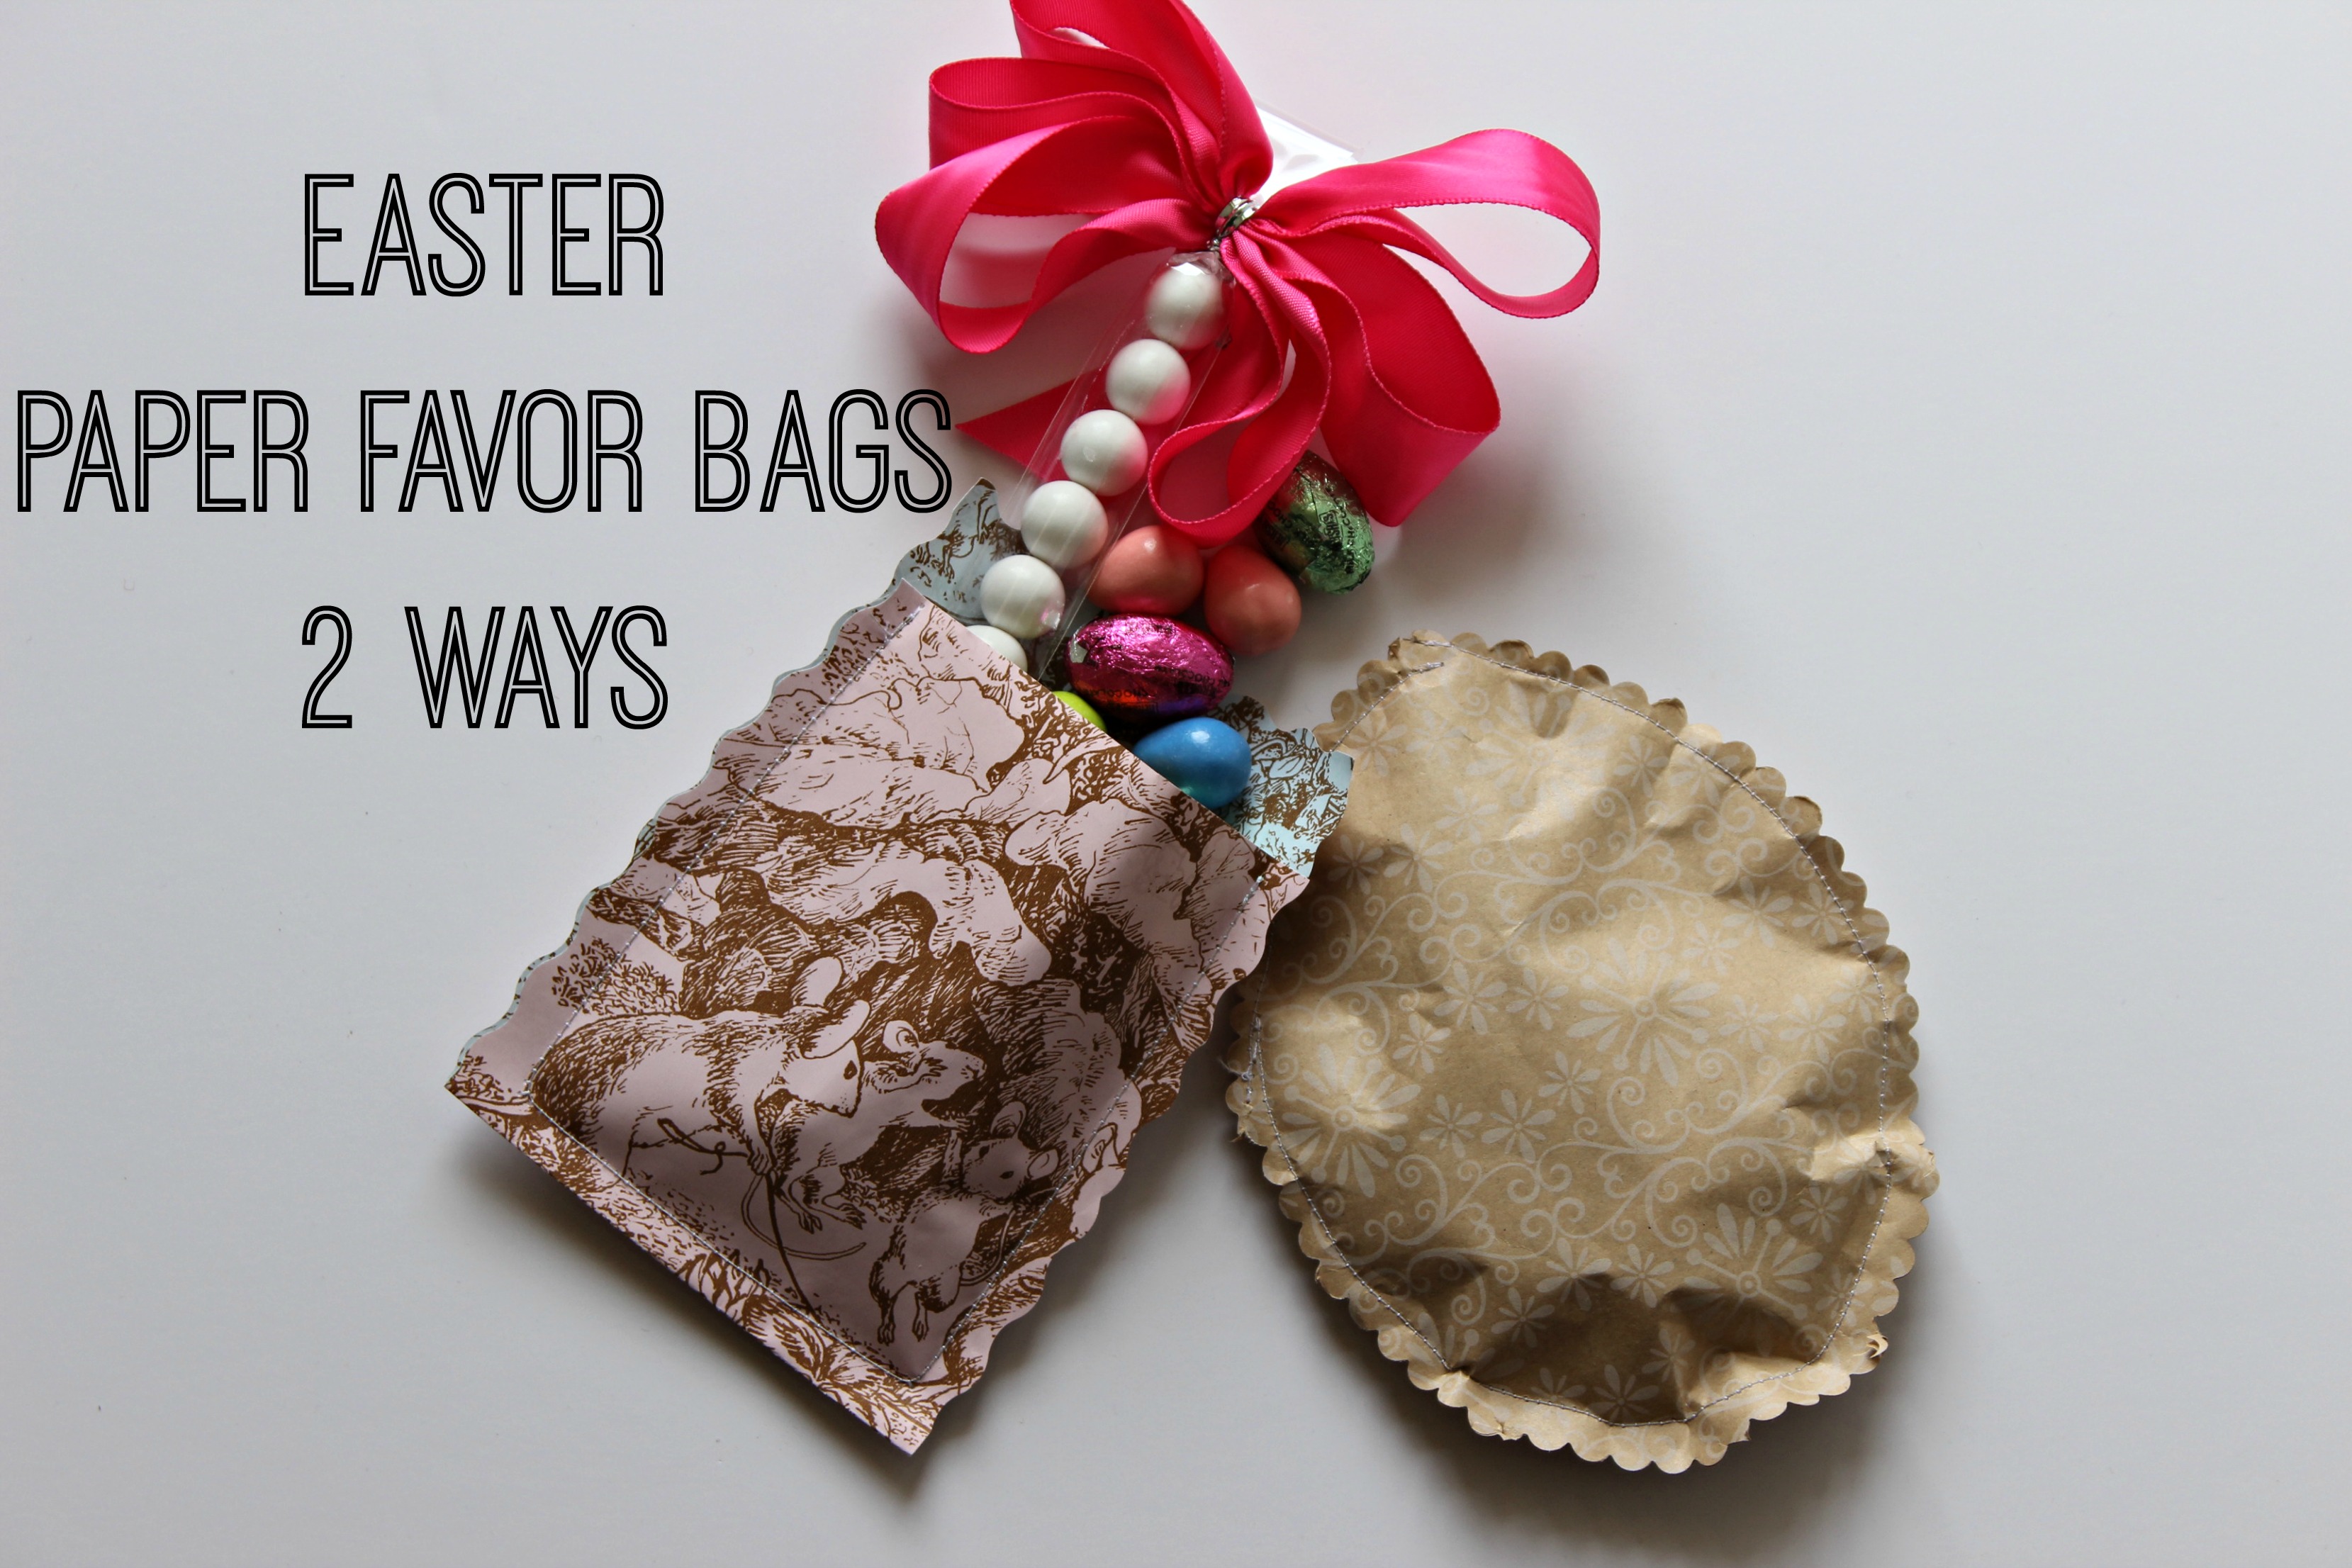
With Easter on its way, I have been trying to think of a cute way to package some candy as a little treat for guests and my girls. Nothing overboard, just a little surprise for the end of the meal or as a take home favor. I created little paper favor bags with little more than some paper, my sewing machine, and some scissors!

paper favor bags

Of course, I couldn't settle on one of them so I made both! I used leftover wrapping paper and the pink toile just happened to be reversible which is great since you see a bit of the underside peeping from the top. I would use scrapbooking paper next time since wrapping paper has a tendency to curl.

For the pink favor bag, you begin by cutting out a rectangle, making it double the size you want your finished bag to be plus 1 more inch. So if you want a 5 inch long bag cut your rectangle 11 inches long.  If you want fancy edges, use your shaped scissors to cut just the short sides.  Next, fold the bottom of the rectangle up almost halfway. You'll want to leave an inch peeping out.

paper favor bags 002

Using a sewing machine with coordinating thread, sew around the two sides and the folded edge, stopping at the top. I sewed mine a 1/2  inch from the sides because I knew I was going to finish it with my shaped scissors. This gave me the extra to cut off without cutting the stitches.

paper favor bags 007
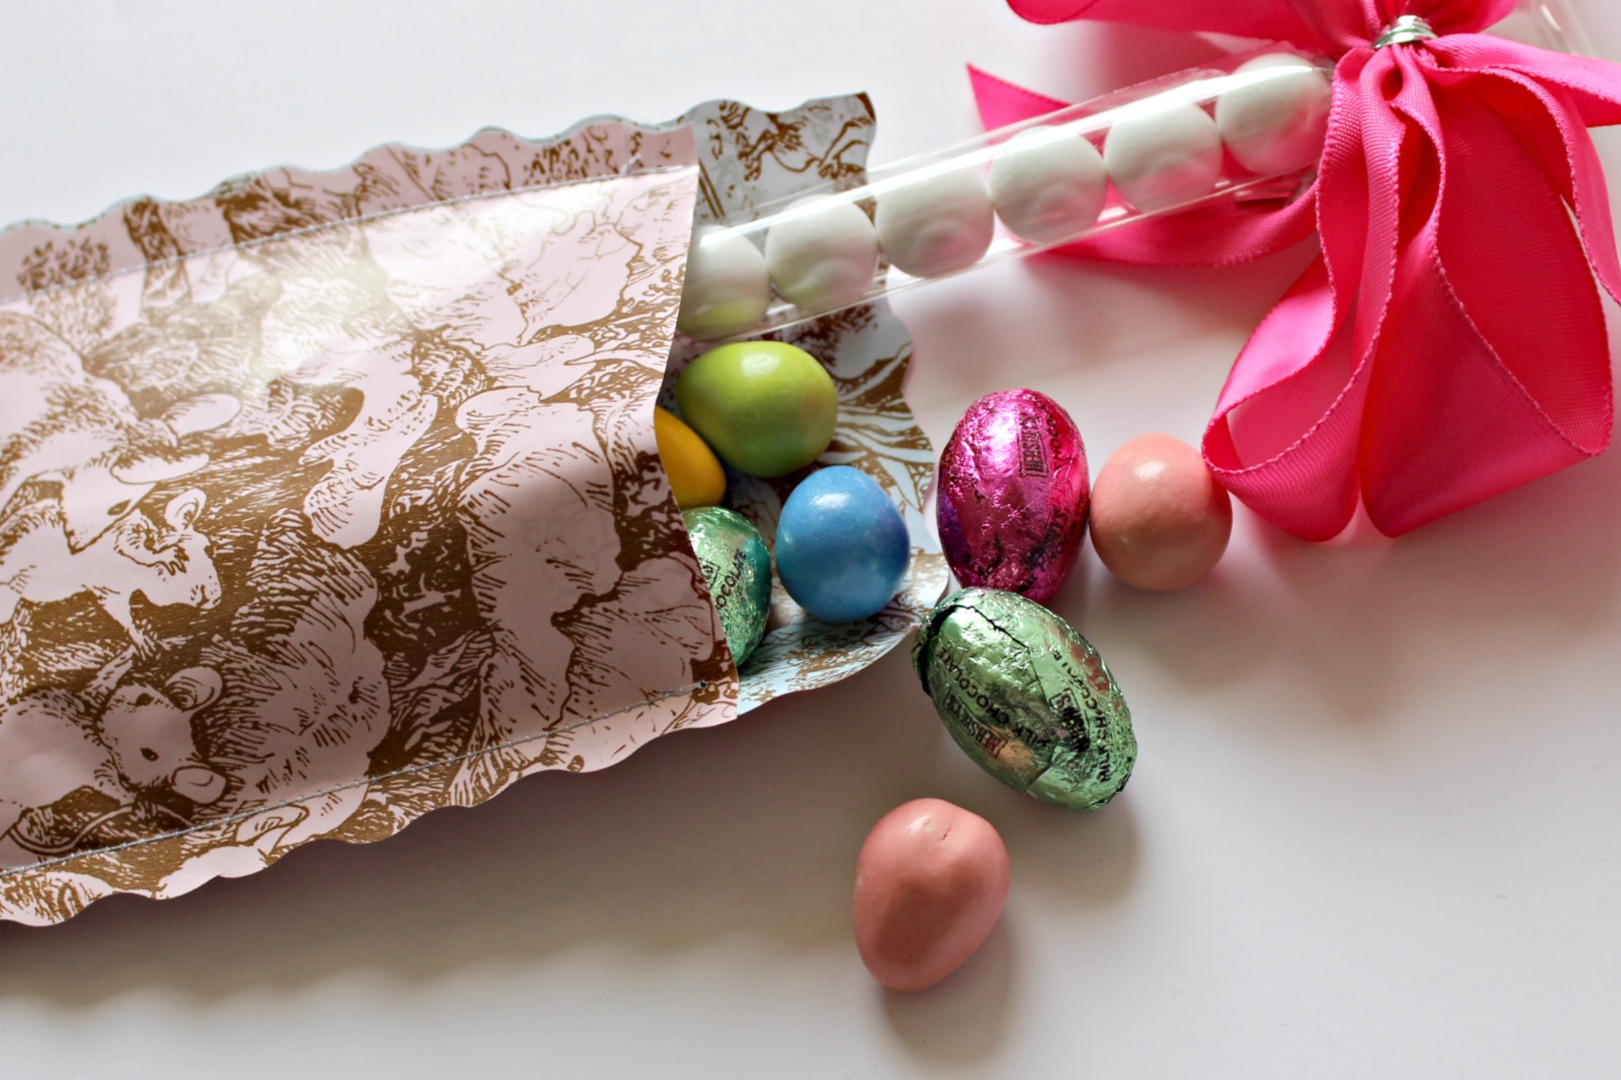
Isn't it sweet?  If you want you can fold the top inch down and over the contents. Seal it with a pretty sticker, maybe! I left mine open because I liked the blue peeping out.

paper favor bags 038 - Copy

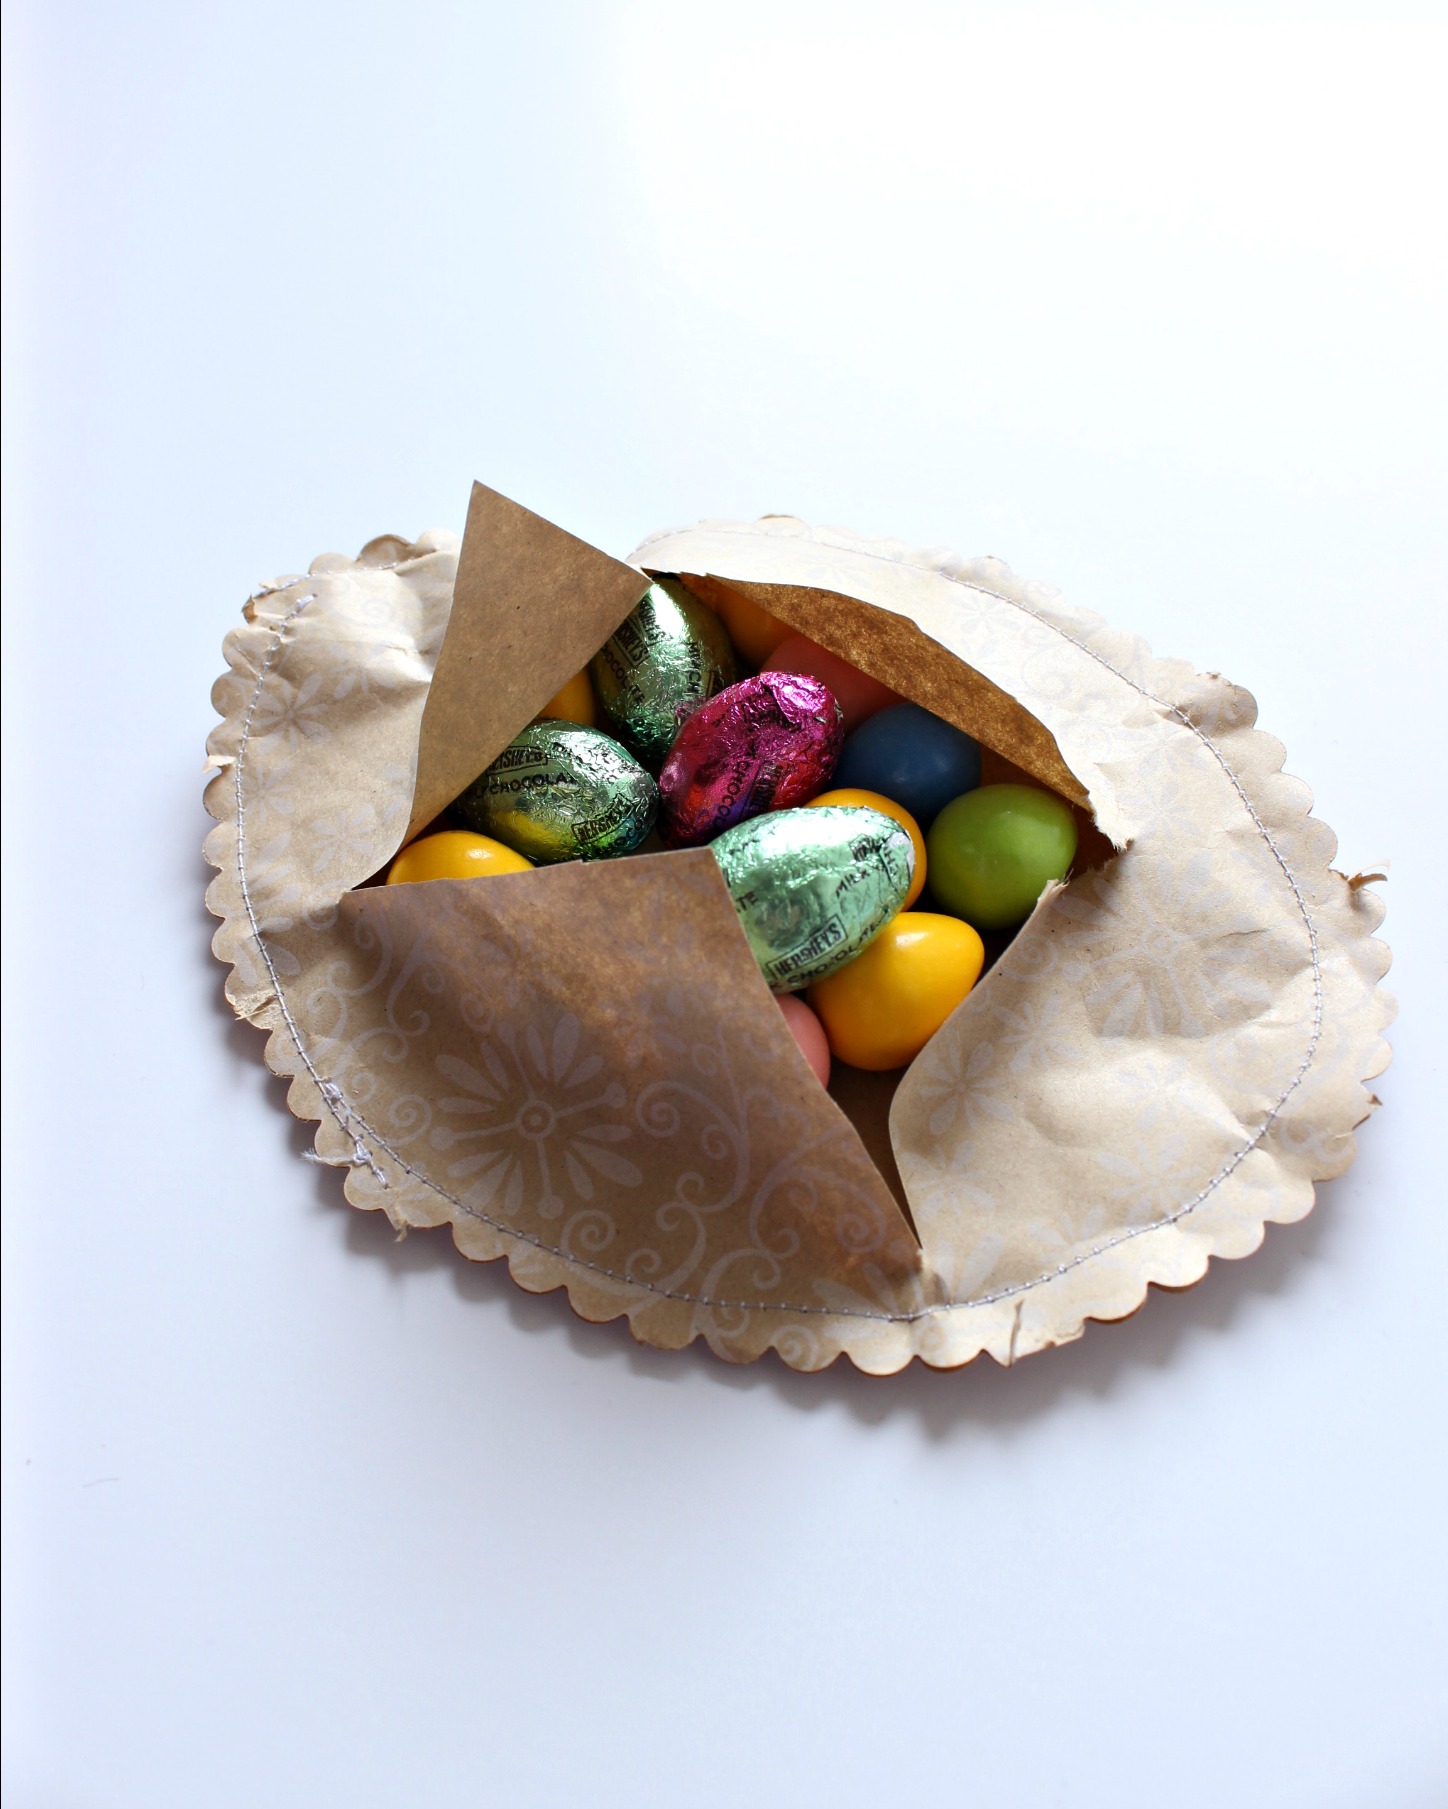
The other paper favor bag option is to completely enclose the candy so that the kids have to rip into it! Fun! 

Cut out the shape of your choice x2. I chose an egg because it was going to be the easiest to sew. I tried a rabbit at first but that was a huge no-go. 
Wrong sides together, sew around your two egg pieces leaving an inch opening (or bigger if you want to add larger candies). Again, I sewed in about a 1/2 inch from the edge so I could trim the extra with fancy scissors. You don't have to do this though.
 After filling the egg with candy, sew up the opening, just as if you were making and stuffing a pillow.

favor bags 042


paper favor bags 055paper favor bags 057

I think the egg is perfect if you are traveling for Easter because nothing can fall out! I also thought adding a name tag to either of these makes them a cute place card in addition to being a sweet favor bag!

Thanks so much for visiting me today!  I love my readers and appreciate any comments or emails!  Let's chat!

 Plus, here are some other ways to stay in touch!

Facebook

Twitter

Instagram

Pinterest

Cheers!
Jenny
Gold for Your Shamrocks

Share It:

This post may contain affiliate links.


I am not Irish and I didn't grow up celebrating St. Patrick's Day other than my mom making corned beef. I didn't know the leprechaun was "a thing" and forget to tint the milk and toilet bowl water every year. But I am trying to get into this fun and festive holiday more,especially since March should be renamed 31 Days of  Staring Out Your Window In Despair.

Why?  It is long, cold, windy, drab, and sort of just a fun sponge in general. You think it is spring but it really isn't. Not one little girl is excited to have to wear a turtleneck under her pink Easter dress and mud seems to be the theme of every March event. Soccer practice? Mud practice. Easter egg hunt?  Mud hunt.  Start of your garden?  Sure, you'll get a head start on growing all your mud.

But St. Patrick's Day has become my little gold nugget (heh heh) in all that dreary, windy, mud filled, fun-sucking month.

A few years back I bought a sweet little clutch of shamrocks. I managed to keep them alive and when they are outside in the summer they thrive into a huge lush puff of sweet white flowers and dark green leaves. In the winter, they tend to thin out and the soil is seen more and more. This year, I created a little leprechaun gold to camouflage it until the summer!


I used some Rustoleum gold spray paint and  the marble chips they sell at garden centers. I picked out some of the smaller pieces to fit into my wee little pot and gilded them up!  So cute!  I love it my little pot of gold and until the spring/summer the soil will be hidden!


The shamrocks are now my centerpiece in my dining room. I gold charger and some chocolate coins bling it up a little more.


Here are some of my other St. Patrick's Day projects too!


St. Patrick's Day Printables


Cheers!
Jenny