Days of Chalk and Chocolate - sewing Days of Chalk and Chocolate: sewing - All Post
Showing posts with label sewing. Show all posts

Sewing Mitered Corners Tutorial

Share It:
Last week, I showed you pictures of the cloth napkins I stitched up with mitered corners. The corners really give home sewn napkins a professional quality but they take a bit of time. I promised a tutorial and I am ready to deliver!


I created diagrams because my pictures are eh but I'll include them too. If you have any questions please email me....juniper20@gmail.com.  Thanks!  And please share, pin, or comment if you found it useful!


Here are some pictures too.  Did you know that the space on a 3x5 index card above the red line is exactly 1/2 inch?


Ta-da!


Love you guys! Enjoy Flag Day!

Jenny

Cloth Napkins

Share It:
I just spent 20 good minutes trying to figure out how to start this post on cloth napkins. I started trying something light-hearted but it went no where. I tried something serious and that felt wrong. I mean this is post is about cloth  napkins, not rocket surgery.  I even tried the poignant angle with some story about growing up but alas, it all felt contrived. This post is about cloth napkins. Not the nostalgic feeling they give me, not the reducing our carbon footprints, or anything remotely important. Cloth.napkins.


I made some. I will post a tutorial another day because 1. I am lazy today. 2. I was lazy yesterday. 3. I will probably be lazy tomorrow.  Aren't they pretty?  The colors of the fabric got me. It felt so springy!


It was my first attempt at mitered corners and they came out great! A bit of a pain but the way to do napkins so they look neat and pretty,  especially if you are giving them as a gift and I was.

Tutorial to come! Stay tuned!

Love,
Jenny

Patriotic Scrap Bunting

Share It:

Memorial Day weekend is almost here. And while it is a solemn occasion, it is also a time to honor our country and its heroes.  

Have you been getting into the spirit of the holiday with patriotic crafts?  I did! I created a quick and easy patriotic bunting but I used red, white, and blue in a more subtle way. This way, it doesn't scream "FLAG!" and I can use it throughout the summer!

patriotic bunting 
I selected my fabrics and created a triangle template from cardboard. Then I traced each piece and cut each pennant with pinking shears. 
I cut a long strip of fabric about an inch wide. I folded 1/2 " in on each side and pressed it down.

patriotic bunting

Then I folded it longways in the middle and pressed it again.
patriotic bunting

I pinned each triangle inside the fold of the fabric strip and then ran it straight through my sewing machine. It was that easy!
patriotic bunting

I love that it is red, white, and blue...festive!
patriotic bunting


patriotic bunting

I purchased these fabrics for this bunting project but wouldn't this be a great way to get rid of some scrap fabric?

patriotic bunting 8

If you enjoyed this post , you can also follow me these ways:

Jenny

DIY Easter Candy & Favor Bags

Share It:

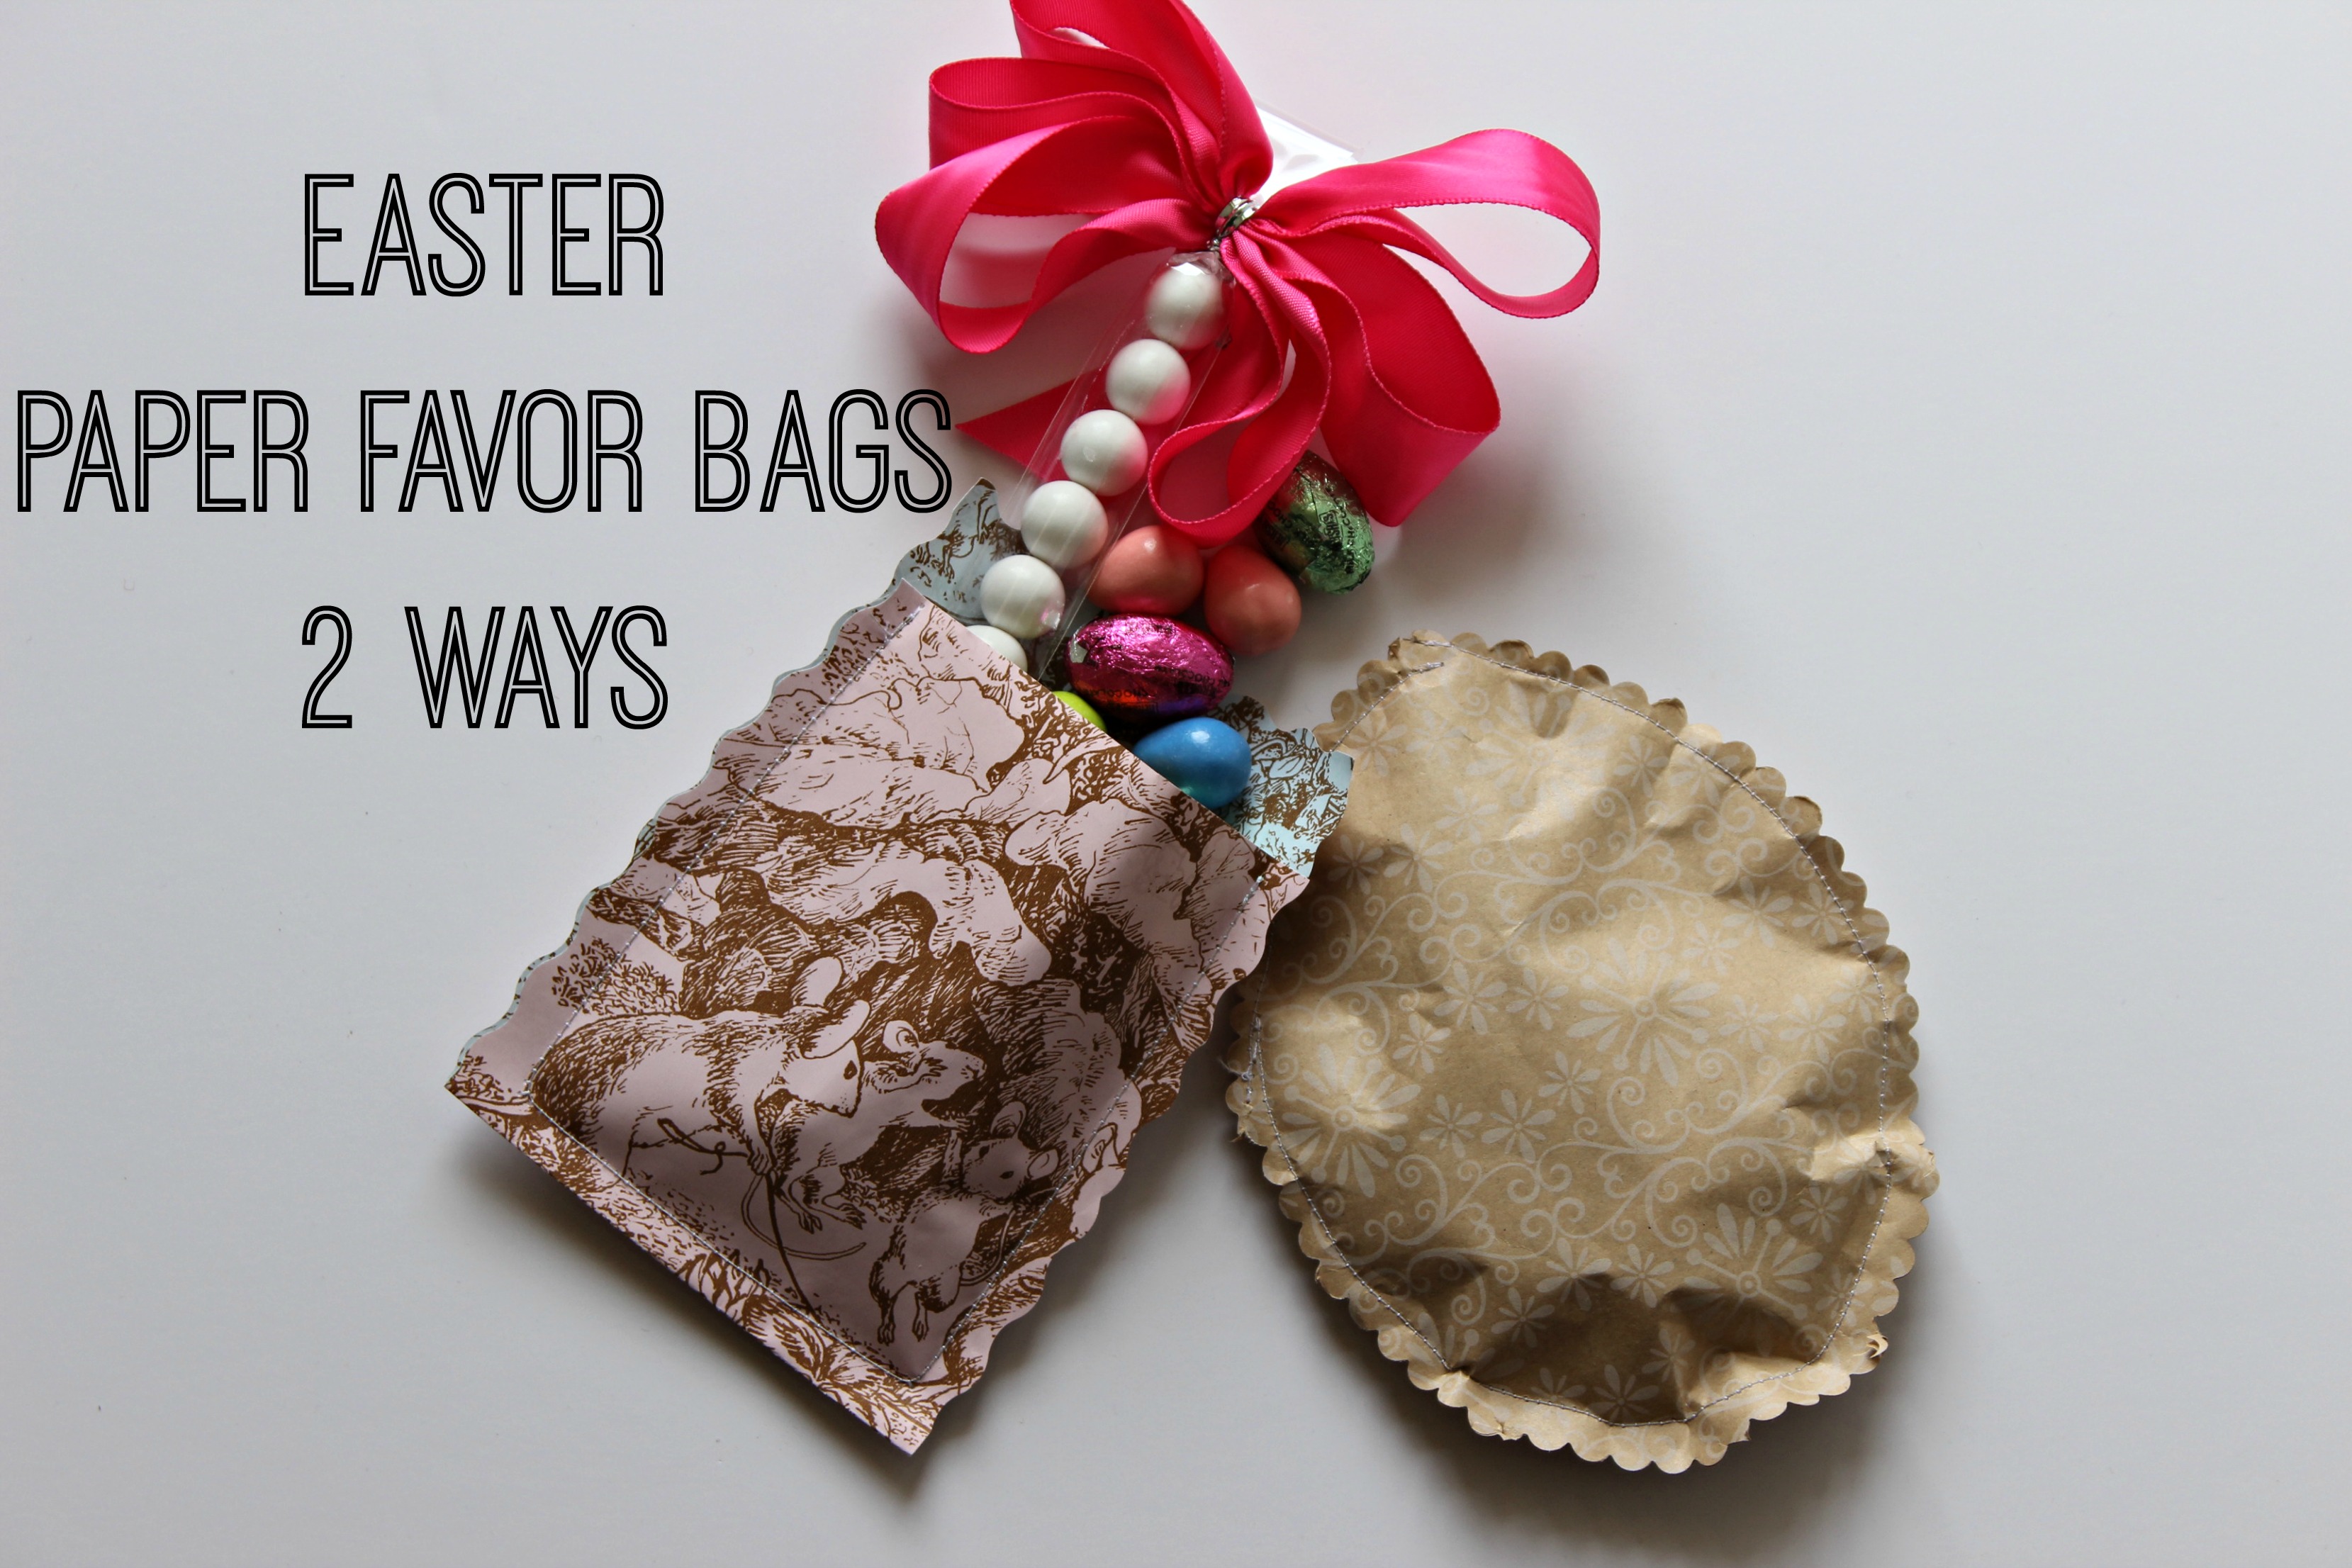
With Easter on its way, I have been trying to think of a cute way to package some candy as a little treat for guests and my girls. Nothing overboard, just a little surprise for the end of the meal or as a take home favor. I created little paper favor bags with little more than some paper, my sewing machine, and some scissors!

paper favor bags

Of course, I couldn't settle on one of them so I made both! I used leftover wrapping paper and the pink toile just happened to be reversible which is great since you see a bit of the underside peeping from the top. I would use scrapbooking paper next time since wrapping paper has a tendency to curl.

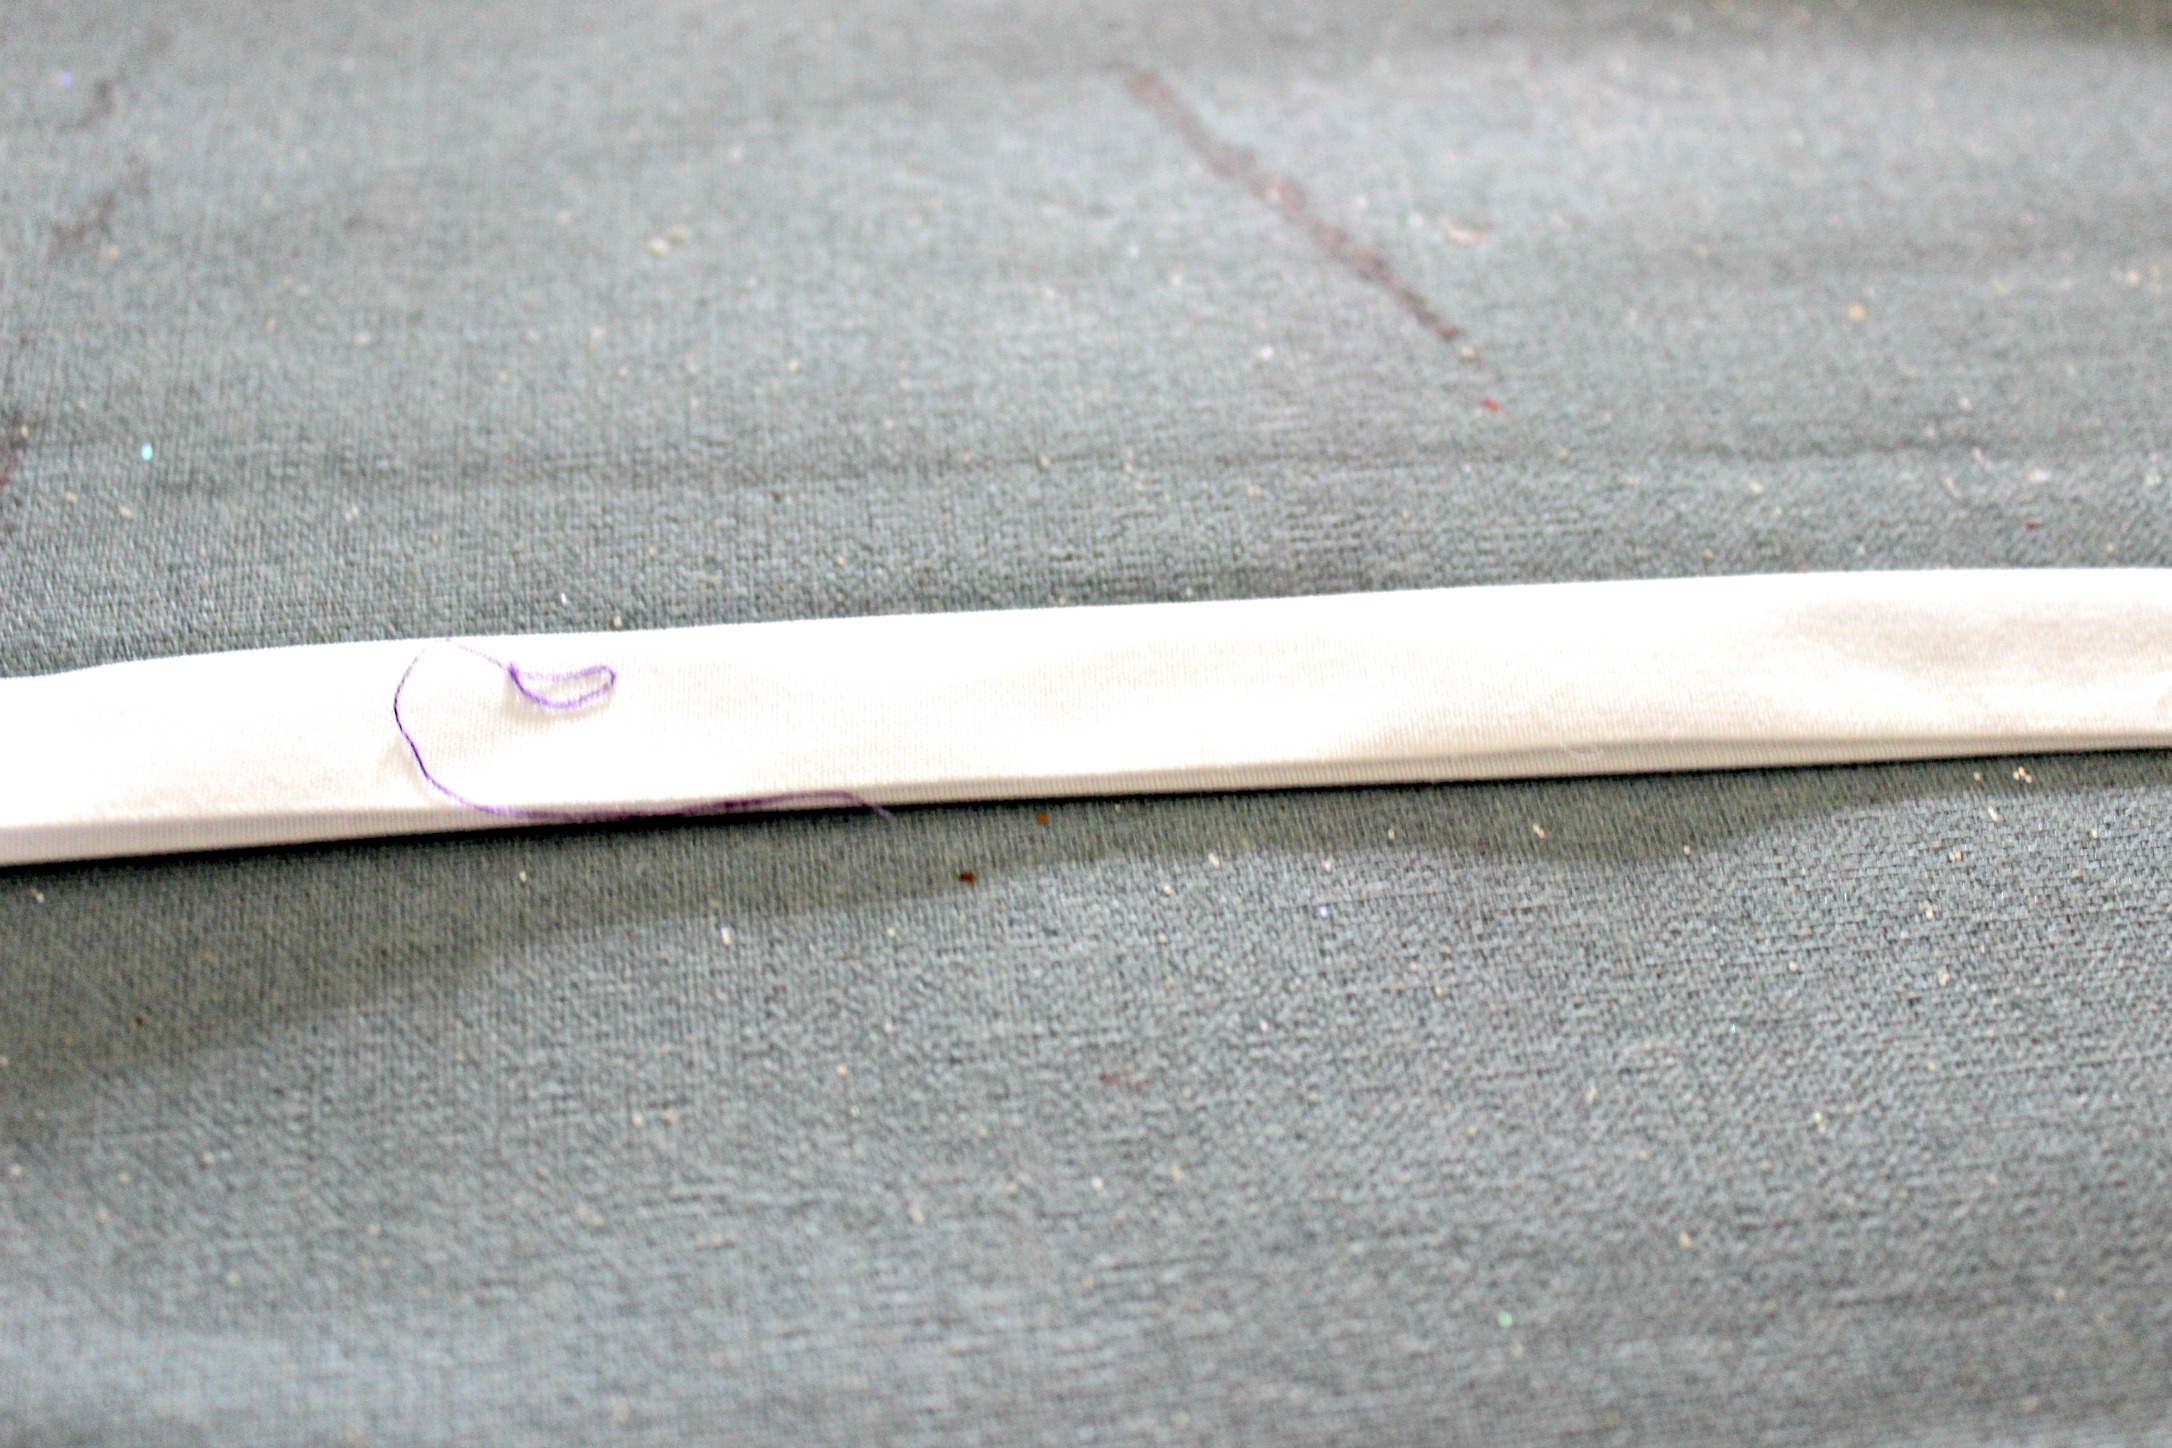
For the pink favor bag, you begin by cutting out a rectangle, making it double the size you want your finished bag to be plus 1 more inch. So if you want a 5 inch long bag cut your rectangle 11 inches long.  If you want fancy edges, use your shaped scissors to cut just the short sides.  Next, fold the bottom of the rectangle up almost halfway. You'll want to leave an inch peeping out.

paper favor bags 002

Using a sewing machine with coordinating thread, sew around the two sides and the folded edge, stopping at the top. I sewed mine a 1/2  inch from the sides because I knew I was going to finish it with my shaped scissors. This gave me the extra to cut off without cutting the stitches.

paper favor bags 007
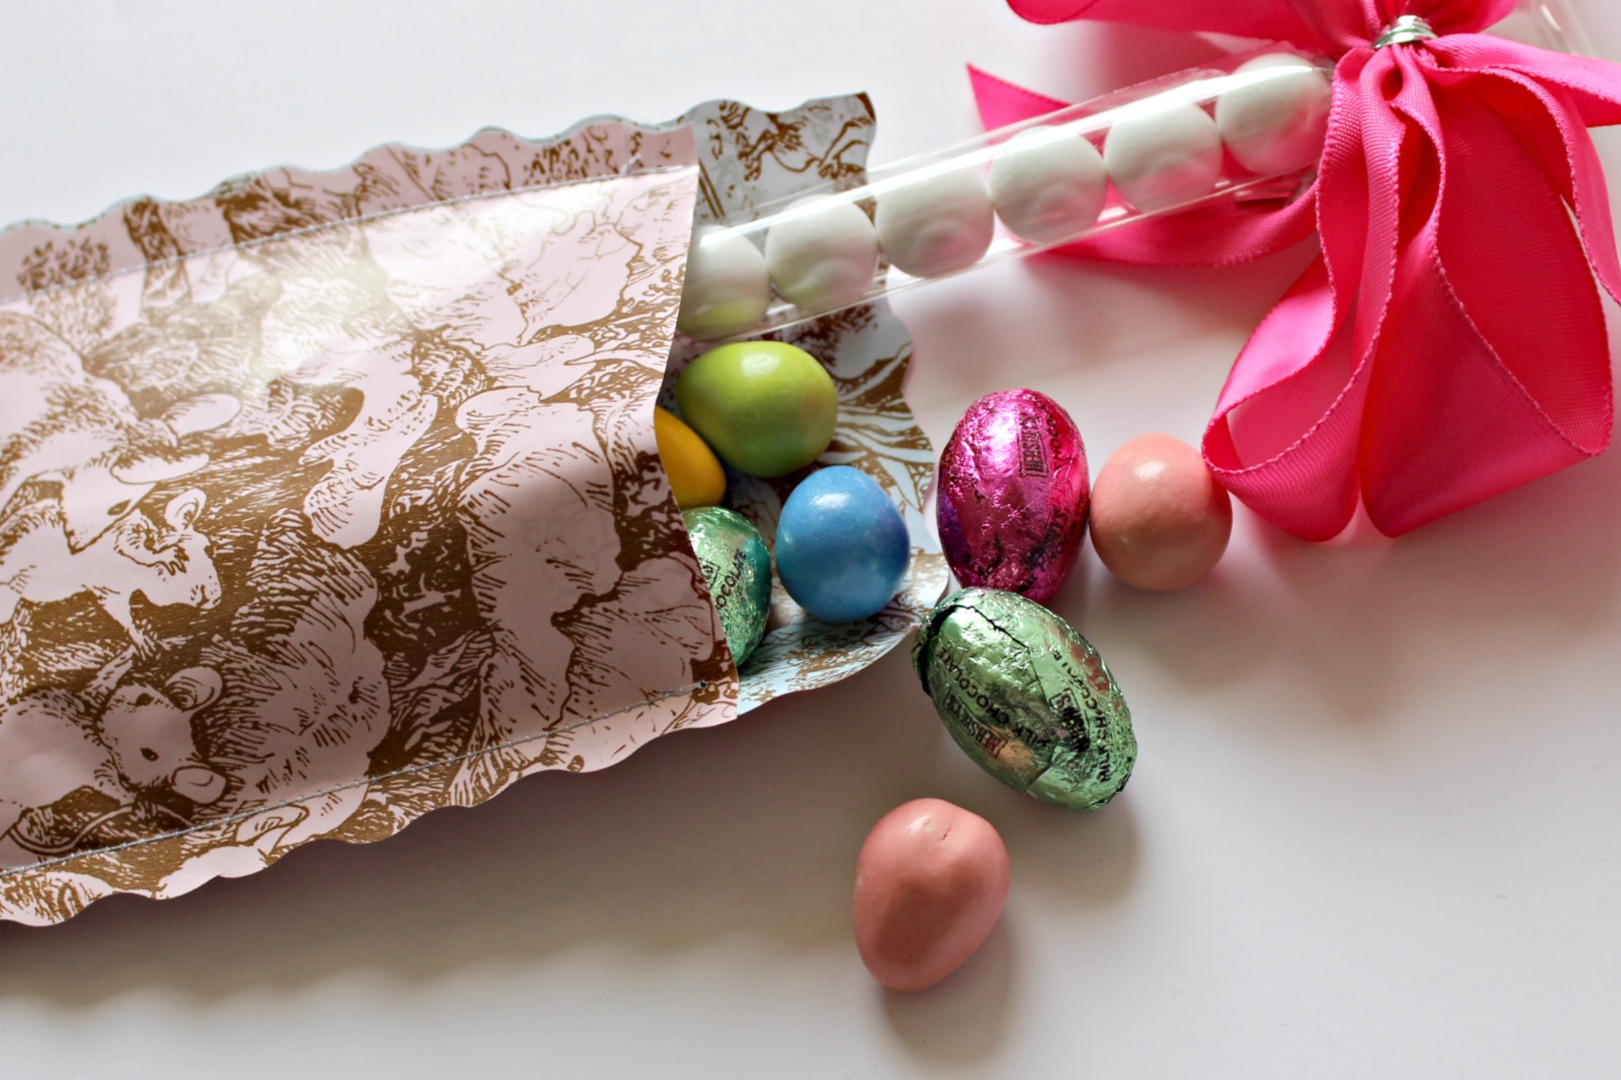
Isn't it sweet?  If you want you can fold the top inch down and over the contents. Seal it with a pretty sticker, maybe! I left mine open because I liked the blue peeping out.

paper favor bags 038 - Copy

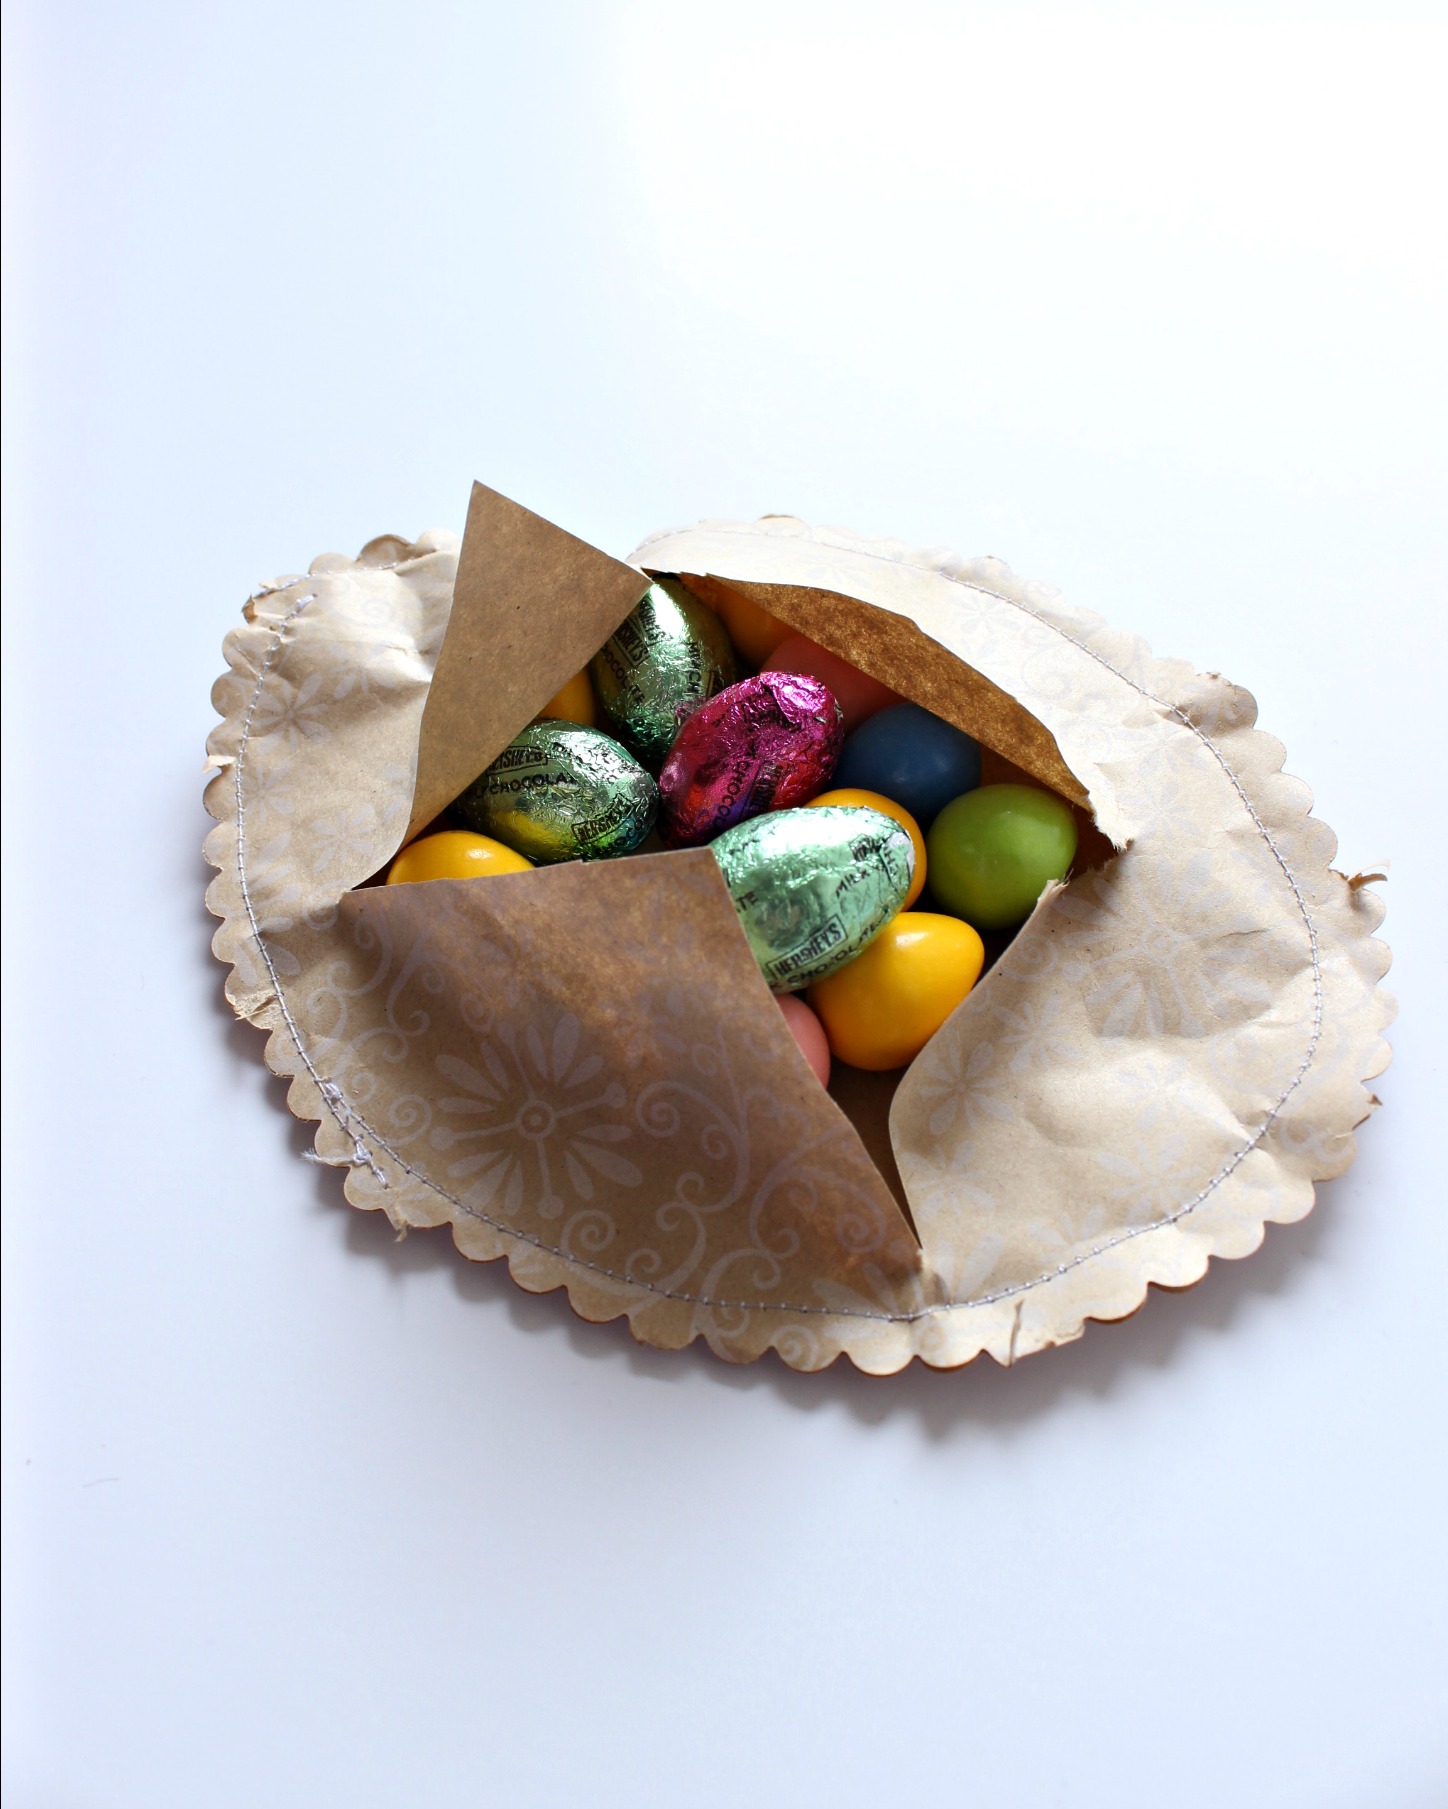
The other paper favor bag option is to completely enclose the candy so that the kids have to rip into it! Fun! 

Cut out the shape of your choice x2. I chose an egg because it was going to be the easiest to sew. I tried a rabbit at first but that was a huge no-go. 
Wrong sides together, sew around your two egg pieces leaving an inch opening (or bigger if you want to add larger candies). Again, I sewed in about a 1/2 inch from the edge so I could trim the extra with fancy scissors. You don't have to do this though.
 After filling the egg with candy, sew up the opening, just as if you were making and stuffing a pillow.

favor bags 042


paper favor bags 055paper favor bags 057

I think the egg is perfect if you are traveling for Easter because nothing can fall out! I also thought adding a name tag to either of these makes them a cute place card in addition to being a sweet favor bag!

Thanks so much for visiting me today!  I love my readers and appreciate any comments or emails!  Let's chat!

 Plus, here are some other ways to stay in touch!

Facebook

Twitter

Instagram

Pinterest

Cheers!
Jenny

DIY Flannel Throw Blanket

Share It:
This post may contain affiliate links

You all know about my love for plaid and I can't seem to stop the love. I recently fell in love with a gray plaid flannel and whipped up a DIY flannel throw blanket in a weekend!


I added some fun pom poms on each corner too.


I started with 3 yards of flannel which I cut in half so I had two pieces that measured 1.5 yards (by whatever the width is...45" I believe.)
I also cut one piece of mid weight batting to the same dimensions.

I layered and pinned the layers like this from bottom to top:
batting
flannel right side up
flannel right side down

I also added the pom poms at this time. They are sandwiched between the two flannel layers with the pom poms were pointing toward the middle.  When I made the pom poms I left the ties long so I had enough to pin to the corners.


Then I stitched around the outside with a 1/2 " seam allowance. I stopped and started so as to leave about a 6-8" opening.
I flipped it outside right just like a pillow case. I treated the batting and the neighboring flannel as one piece and flipped it so both sides of the flannel were outside (top and bottom of the blanket) with the batting sandwiched in the middle.

Then I tucked in the edges of the opening stitched it closed. Of course, one could always hand sew it closed too but I used my machine.


I quilted it by running a straight stitch every 3 inches following the lines of the plaid. This will keep the batting from bunching and shifting.  That's it!


 Pixie still prefers a tummy to keep warm though.


Cheers!
Jenny

My Favorite Sewing Machine

Share It:
This is not a sponsored post. All opinions are mine alone. This post may contain affiliate links.


sewing-love

Four, maybe 5 years ago I decided I wanted to teach myself to sew. My mom had been a sewert when we were growing up and I remember standing next her as she was feeding the material through her machine or pinning a pattern.  The trouble was that I had 0 sewing knowledge!

Instead of spending money on a good, high quality machine, not knowing if I would bomb at sewing, I went out and bought a cheapo $80 machine. It was very basic and I started to watch tutorials, etc. And I was THE WORST sewer ever. I spent 90% of my time crying and wrenching knotted thread out of my machine and 10% actually sewing. I thought it was me...that I would never be able to sew something that didn't look like the dog got to it first.

On a whim, I entered a giveaway for a beautiful Singer One sewing machine  and to my great surprise and glee I won!  And to my further surprise and glee I discovered that I wasn't all to blame for my sewing failures. This new machine changed my sewing forever.

sewing-love
Singer One Sewing Machine

It literally purrs as it sews and threading it so simple...no turning the wheel and weaving the thread in and out of secret passageways!  It has all the special stitches you need for basic sewing needs and the bobbin tension is factory set. It never needs to be changed!  Of course you can change the top thread tension if need be. I will honestly say that my thread doesn't get tangled or mashed up in the back and now I spend 90% of my time sewing and 10% watching Murdoch Mysteries repeats while sewing.

Some of the other features I appreciate are the slide out tray which holds notions like my seam ripper (which still gets plenty of use), extra bobbins, and the 2 other feet attachments. I still haven't used those but I know one is a button foot.


This is NOT a sponsored post. I just think that this machine is the perfect tool for  the home sewer/hobbiest.  I would gladly spend the $300 it usually retails for because it is worth it. If you need a great machine that gets the job done then I recommend this one. And today on Amazon it is at its lowest price I've ever seen!  $215!!

If you are thinking of purchasing a Singer One and have any questions about it email me and I'll answer as best I can!  daysofchalkandchocolate@gmail.com.

And here are some projects I have sewn with it:


Don't forget to head over to the Table It Link Party!

Cheers!
Jenny

Beginner Sewing Project: Pot Holders!

Share It:

What do you do with old towels?  You turn them into something else...like pot holders!


pot holders 15


 Making pot holders is a great beginner sewing project. It is an easy and quick project and I am happy to share it with you today!

You'll need old towels or thick terry cloth fabric, fabric for the outside pieces, coordinating thread, and basic sewing notions along with a sewing machine.  These directions are for 1 pot holder, by the way.

I used an old pot holder to size my fabric, increasing the size by a half-inch on all sides for the seam allowance (my measurement was 8"x8").

pot holders 01

Cut out one square from the towel and two from your cover fabric. You'll have three squares all the same size.

Layer them from bottom to top:  terry cloth, fabric square right side up, fabric square right side down.

pot holders 3

Sew around the edge, through all three layers, using a 1/2 inch seam allowance, and leaving an opening for turning the pot holder right side out.  Clip the corners for easier turning.


pot holders 10

Turn your pot holder right side out. You'll need to turn the terry cloth and its closest piece of cover fabric together as if they are one piece so that your terry cloth is sandwiched between the two cover pieces.  Fold in the opening and pin. Top stitch about a 1/4"-1/2" from the edge all the way around, sewing the opening closed.


pot holders 6

Now you can leave your pot holder like this but I chose to quilt diagonal stitches to keep the terry cloth from rippling or shifting inside.  I did this in two ways. The first was to simply sew a line, back-stitch, cut thread. Repeat over and over. This created a ton of threads that needed to be clipped. The second time I used a different method and it was quicker and neater.

Begin sewing a straight stitch from one corner to the opposite corner. Stop when you reach your top stitching.

pot holders 11

Turn the pot holder 90 degrees, sew an inch or so (you'll be sewing on top of your top stitching) and turn 90 degrees again. Stitch another line straight until you reach your top stitching. Your second line of stitching will be parallel with your first. Continue sewing and turning until you have run out of space and have reached the corner. Back-stitch to secure.

pot holders 12

Complete the other half the same way. Then turn the pot holder 180 degrees and repeat the whole procedure to create a criss-cross pattern.

pot holders 16 

I love my new pot holders!  They are thin enough to bend to grasp handles securely but thick enough to keep me from burning myself. I plan on whipping up a bunch to use up more of the old towels!

 pot holders 13
 pot holders 14

pot holders 15

Thanks for visiting today! I hope to "see" you again!

-Jenny