Days of Chalk and Chocolate - decorations Days of Chalk and Chocolate: decorations - All Post
Showing posts with label decorations. Show all posts

Patriotic Scrap Bunting

Share It:

Memorial Day weekend is almost here. And while it is a solemn occasion, it is also a time to honor our country and its heroes.  

Have you been getting into the spirit of the holiday with patriotic crafts?  I did! I created a quick and easy patriotic bunting but I used red, white, and blue in a more subtle way. This way, it doesn't scream "FLAG!" and I can use it throughout the summer!

patriotic bunting 
I selected my fabrics and created a triangle template from cardboard. Then I traced each piece and cut each pennant with pinking shears. 
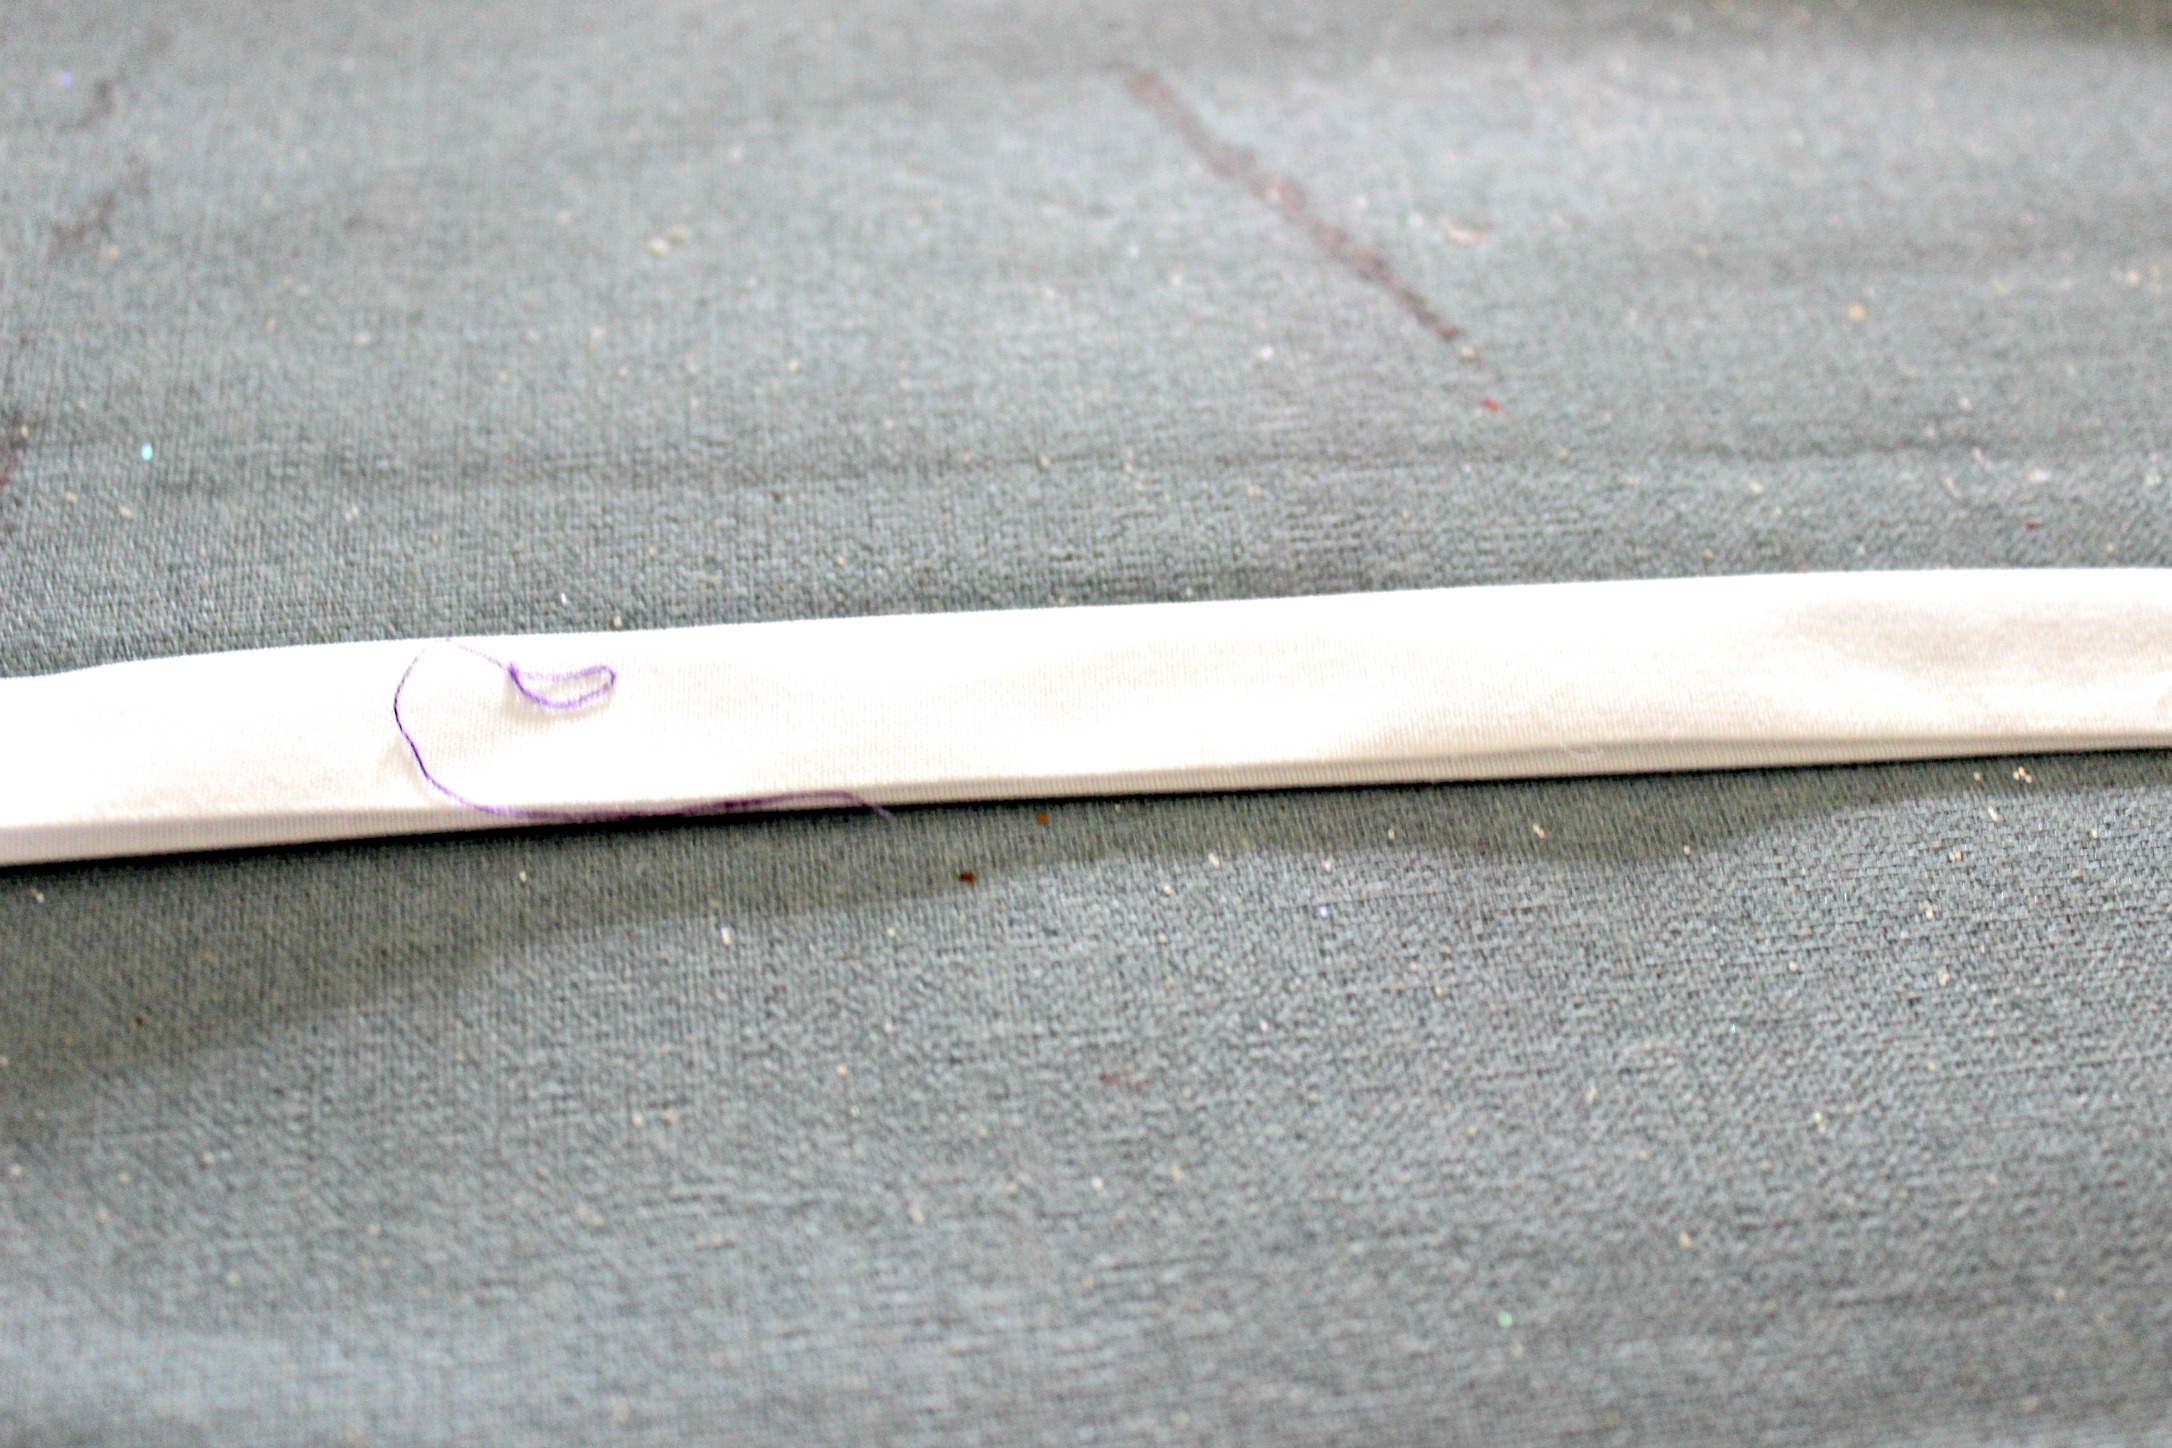
I cut a long strip of fabric about an inch wide. I folded 1/2 " in on each side and pressed it down.

patriotic bunting

Then I folded it longways in the middle and pressed it again.
patriotic bunting

I pinned each triangle inside the fold of the fabric strip and then ran it straight through my sewing machine. It was that easy!
patriotic bunting

I love that it is red, white, and blue...festive!
patriotic bunting


patriotic bunting

I purchased these fabrics for this bunting project but wouldn't this be a great way to get rid of some scrap fabric?

patriotic bunting 8

If you enjoyed this post , you can also follow me these ways:

Jenny

Favorite Garden Decor Items

Share It:

This post may contain affiliate links.

I am obsessed with all things spring right now and that includes anything related to gardens, flowers, and outdoor decor.  I have collected some of my favorite garden decor items that I am swooning over or are on my wish list.


Filled with flowers this garden tool caddy would make a beautiful addition to a patio, deck, or garden.


In The Garden Cobble Stone Birdbath


Tiga Teak Garden Bench
All this bench needs is some comfy outdoor pillows


I love the soft, beachy colors!


If you follow me on Instagram you know that a pretty fox visits us almost every morning. Maybe he is looking for a friend.

These are all the rage and I envision this with clusters of impatients spilling out.


These are just about perfect. The copper...ah..perfection.


I love love love these!  I would fill it with all one color but different flowers.


Remember that teak bench up above?  That needs this.


While some people may put this on a patio, I would tuck it in between trees or among the flowers in a garden for quiet tea times.

I still have so many more to share!  Another day, I suppose!  

How are you decorating your garden this year?

Easter Spring Decor Jar/DIY Chocolate Bunny

Share It:

Spring can't get here quickly enough for me!  I long for pastel colors, flowers, and warmer days and since I have no patience  I am forcing Mother Nature's hand. I have begun adding some spring touches here and there around the house. Just having the lighter, fresher decor around makes me feel happier and helps to banish some of the winter blues!  

Today, I used some thrift store and found objects to make sweet spring jar decor!  I can't wait to show you how that little chocolate bunny came to be!

Spring Jar Decor

I was cruising through a thrift store last week and snagged this bunny for $1. He was cute as is but I knew he'd look better drenched in "chocolate."

springjar1
springjar3

Using a sponge brush, I coated him with 3 coats of dark brown colored craft paint. I used a small brush to get into his nooks and crannies.

faux chocolate bunny

When he was dry, I nestled him in a jar with dollar store moss (I had leftover from my DIY spring topiaries) and the wooden speckled eggs I painted a few years ago. A rolled fabric flower added the final touch!  I think he likes his new home and color, don't you?

springjar13
springjar12

springjar8
springjar7

springjar6

There are so many ways to fill spring jars. I am thinking of some pink silk peonies would be lovely or porcelain fairies with some little toadstools!  What would you put in a spring jar? 
 Thanks for visiting!
Jenny


What The Flock!

Share It:
"Oooh, I love all the flocked trees on the Internet!" I said.
"Oooh, there are so many DIY versions!" I said.
"Oooh, I know! I'll DIY flocking! What could go wrong?" I said.


I used two methods. One used shredded Ivory soap bars mixed with liquid starch and hot water. This turned into a slippery, gloopy mess that laid on the branches like bird poop. I also tried using powdered laundry detergent, also mixed with starch and hot water. This went on almost clear but then dried to a white, snowy effect. We all decided we liked this look the best.

But it was seriously the biggest PITA DIY I have done in a while. I will never do this again. It was SO messy!  And the smell! My whole house reeked of soap for days. In fact, I bet I have brain damage. It was that bad. Now I'm brain damaged and I can't even say it was worth the fewer IQ points.

We spend a chunk on our trees because we buy them from a family outfit and the trees are gorgeous.  I decided that this flocking made my beautiful, natural tree look fake. Not that there is anything wrong with a fake tree but when you have a real tree you kind of want that recognized. I mean I'm laying out $70 so we can all join hands and sing about its branches or something.  Covering it up with laundry soap no longer makes sense to me, despite my damaged brain.  Why did that ever make sense now that I read that sentence?

And here is the worst part.


I have actually created stuff I need to vacuum. I can't blame it on those darn kids. I can't blame it on the dog. It is me. All me!  I created something that literally needs to be vacuumed daily. And God forbid anyone actually touches the tree!  I will leave a trail of fire behind me as I run to prevent anyone from even breathing on the stupid tree!  It will moult and I am not real keen on vacuuming in the first place, let alone in the second and third place.  And if you even so much as sneeze near it, you are out. done. goodbye. Leave your dessert and then get out.

So, in case you haven't caught what I'm laying down here I'll spell it out.  Flocking is flocked up. I will either buy real flocking powder (which I will never do because it is too darn expensive) or buy a fake flocked tree (which I also don't see myself doing because I like a real tree. Not that there is anything wrong with a fake tree.).


Even Pixie is fed up.

holiday christmas decorations
"This is for the flocking birds."

Now here is a DIY that was successful!  Glitter ornaments!  We'll talk more about these later.


Cheers!
Jenny

DIY Letter to Santa Tree Ornament

Share It:
Ok, first things first. One of Amazon's daily deals today is a Silhouette Portrait for half price!!  Now back to our show.....


All couples argue, right?  Money, kids, in-laws...everyone has an issue that never seems to get resolved. Our issue?  Glitter. And there is never a more tense time in our household than during the Christmas holiday season when I am glitterfying everything that isn't walking and Jim is going to work look like a Bratz doll.


See, I love glitter. The more the better. Yes it gets around faster than a stomach flu in a kindergarten class but I don't mind. I love seeing everything sparkle, especially during Christmas. Jim, on the other hand, never learned to appreciate it. He really HATES it. And this is how I know he truly loves me because he puts up with it and he knows he'll never win this fight. Glitter will go on.

These cute little letters to Santa ornaments were so easy to make!

1. Tear white paper on either side to the width you'd like your ornament to be. I used two sizes, one about 3 inches and one about 6. You can tear your length to about 6 inches too.

2. Roll up your paper into a tube. I found rolling it around a pencil made it easier. Tie with a ribbon to hold the rolled paper together.

3. Dip easy end into glue and then sprinkle with super fine glitter. My color is platinum and it is a silver color with a tinge of gold.


4. Let dry.

5. Cut a little gift tag out of card stock. Using a metallic marker, write "To Santa" the tag and glue to the ribbon end.


6. Glue a sprig of evergreen (real or fake) to the paper roll under the ribbon if you wish.

So cute, right?  Kids could do these easily too.


And while Jim may not love glitter, he's stuck with it just like he's stuck with me! And I'm way tougher to get rid of than a little glitter.

Oh and don't forget that homemade pompoms make darling ornaments too if you need to plump up your tree!


Stay sparkly!
Jenny