Days of Chalk and Chocolate - crafts Days of Chalk and Chocolate: crafts - All Post
Showing posts with label crafts. Show all posts

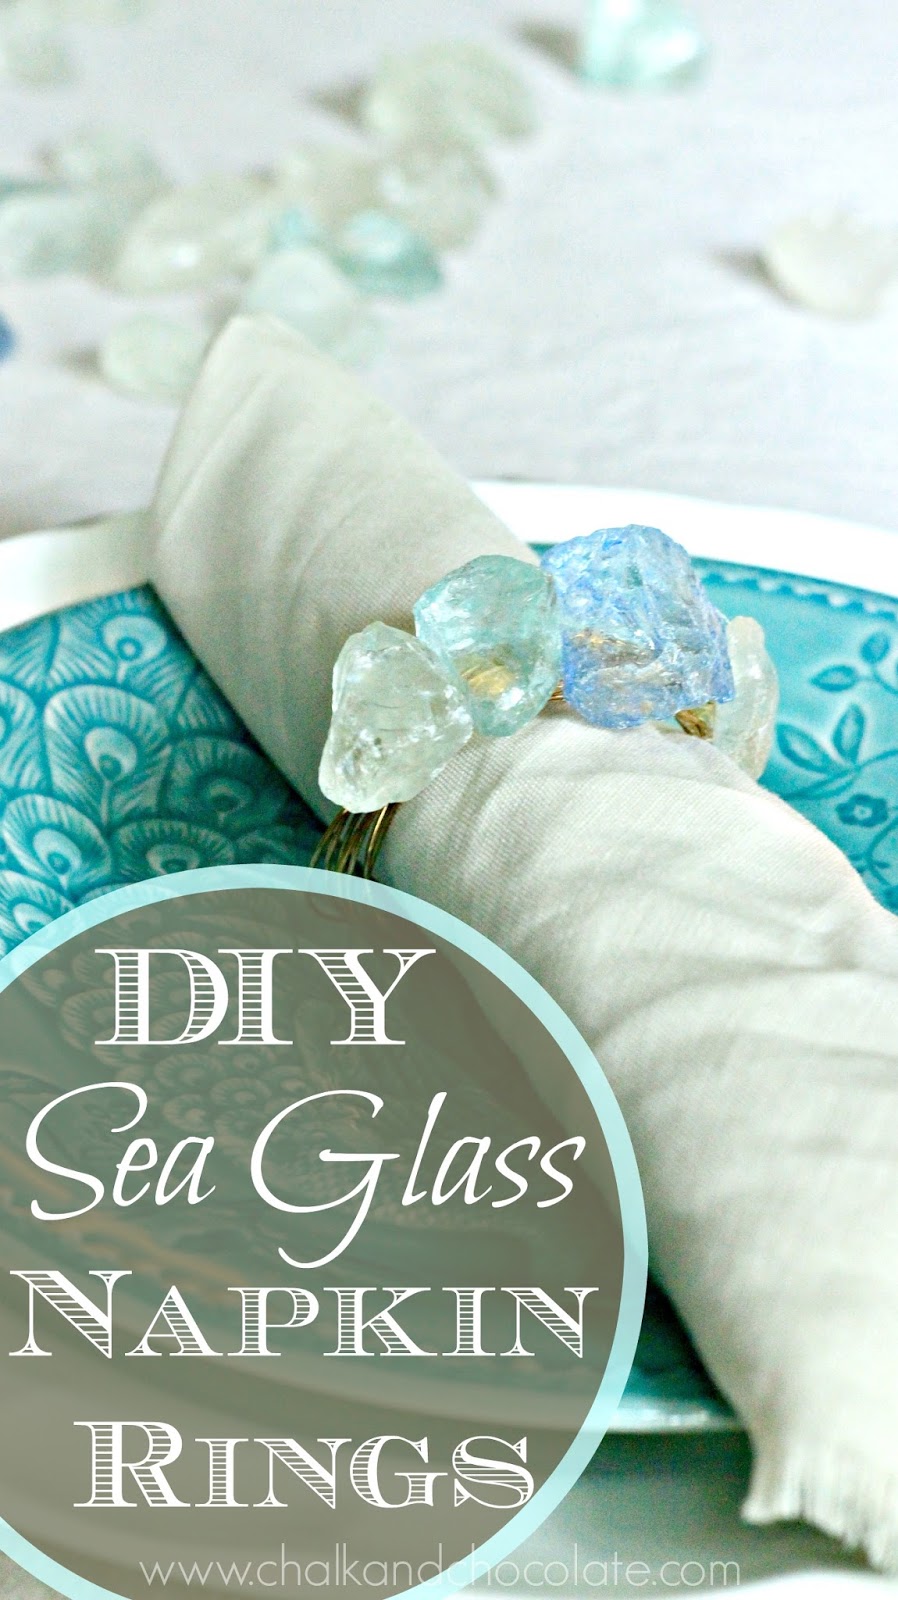
DIY Sea Glass Napkin Rings

Share It:
A few months ago, you'll remember that I had the opportunity to visit the new World Market store in NJ. One of the goodies I came home with was a bag full of sea glass. The colors were so lovely and soothing that I couldn't resist adding them to my summer decor!  But alas, they called to me in a different way and I used them to make some sparkly DIY napkin rings for my summer tablescape!


These DIY sea glass napkin rings were so easy and fun to make!

To make your own, you'll need:
hot glue gun
sea glass or similar colored stones
copper wire (a thick enough gauge to make a sturdy ring)
napkin ring


1. Wrap the wire around your napkin ring 8 (or more) times.  I found 8 to give me the size I wanted.  Cut the wire, slip it off the napkin ring, and twist the ends together.


2.  Apply a bit of hot glue to the twisted ends and start gluing on your sea glass. I found 4-5 pieces was the perfect amount depending on the size of the glass pieces.

3. That's it!  Gluing the rocks to the twisted ends cover any sharp edges of the wire.


I cut squares of linen, frayed the edges, and slipped my new no-sew napkins into my new DIY beach glass rings!


The watery blues and greens send me back to the beach!


They remind me of gems...beach gems!


If you enjoyed reading about my DIY beach glass napkin rings please PIN or SHARE!  Thank you!

Cheers!
Jenny

Cloth Napkins

Share It:
I just spent 20 good minutes trying to figure out how to start this post on cloth napkins. I started trying something light-hearted but it went no where. I tried something serious and that felt wrong. I mean this is post is about cloth  napkins, not rocket surgery.  I even tried the poignant angle with some story about growing up but alas, it all felt contrived. This post is about cloth napkins. Not the nostalgic feeling they give me, not the reducing our carbon footprints, or anything remotely important. Cloth.napkins.


I made some. I will post a tutorial another day because 1. I am lazy today. 2. I was lazy yesterday. 3. I will probably be lazy tomorrow.  Aren't they pretty?  The colors of the fabric got me. It felt so springy!


It was my first attempt at mitered corners and they came out great! A bit of a pain but the way to do napkins so they look neat and pretty,  especially if you are giving them as a gift and I was.

Tutorial to come! Stay tuned!

Love,
Jenny

Quick & Easy DIY Wall Art

Share It:

Making your own DIY wall art is easy and a great way to decorate a room without spending big bucks on art.  We are sprucing  up the girls' bathroom on a very narrow budget so creating the wall art myself was a huge money saver! I adore the sweet flowers, and I am sharing my fabric flower tutorial with you today, too!

DIY wall art

I started with an old plaque I got at a garage sale. You can see how it looked before HERE. I had 4 of them and each was uglier than the next. I turned some of them into pictures of my girls but I had one left over.

The process to make this DIY wall art is easy. I coated the whole thing in pale gray paint, painted the edges teal with craft paint, taped off a chevron pattern, and painted over it with pale yellow craft paint. After it was completely dry, I used my glue gun to adhere a strip of burlap and some twine. Then I hot glued on these simple fabric flowers I had made eons ago but had never used. The end result is a sweet piece of wall art that brightens up the girls' bathroom! (By the way, you can check out more about sprucing up this bathroom HERE.)
 DIY wall art

There are other tutorials for making fabric flowers out there but here is my fabric flower tutorial and the way I made these.

Supplies: 2 different fabrics, felt, glue gun, embellishment (button, bead, etc.)
Cut 4 large circles and 4 smaller circles out of the fabric of your choice, and one rectangle out of felt.

diy art 014 
Starting with your large circles, fold a circle in half , add a dot of hot glue, and then carefully fold it in half again.

diy art 019
diy art 017 
Glue your folded circle onto your felt with the folded side toward the middle of the felt and the open parts toward the sides. Glue your next folded circle the same way. Make sure the folded sides are next to each other. Continue with the remaining two large circles.

diy art 022

diy art 023
Turn your felt  90 degrees and layer your smaller circles, folded in the same way, on top of the larger folded circles.

diy art 025 
Hot glue your embellishment in the center. I have used sparkly beads, buttons, and small rosettes. This time I used those glass beads you can buy at the dollar store.  You can also keep adding layers of smaller sized circles to your fabric flower to make it fluffy and fuller.
Trim your felt edges so they don't show from the front.

diy art 026

And there are so many ways you can use these such as on headbands, decorating a tote bag, pins, really so many things!

art5

Or use them to adorn some easy DIY wall art!  Hope you enjoyed my little fabric flower tutorial, too! Thanks for visiting!

Jenny
You can find me at 

Easter Spring Decor Jar/DIY Chocolate Bunny

Share It:

Spring can't get here quickly enough for me!  I long for pastel colors, flowers, and warmer days and since I have no patience  I am forcing Mother Nature's hand. I have begun adding some spring touches here and there around the house. Just having the lighter, fresher decor around makes me feel happier and helps to banish some of the winter blues!  

Today, I used some thrift store and found objects to make sweet spring jar decor!  I can't wait to show you how that little chocolate bunny came to be!

Spring Jar Decor

I was cruising through a thrift store last week and snagged this bunny for $1. He was cute as is but I knew he'd look better drenched in "chocolate."

springjar1
springjar3

Using a sponge brush, I coated him with 3 coats of dark brown colored craft paint. I used a small brush to get into his nooks and crannies.

faux chocolate bunny

When he was dry, I nestled him in a jar with dollar store moss (I had leftover from my DIY spring topiaries) and the wooden speckled eggs I painted a few years ago. A rolled fabric flower added the final touch!  I think he likes his new home and color, don't you?

springjar13
springjar12

springjar8
springjar7

springjar6

There are so many ways to fill spring jars. I am thinking of some pink silk peonies would be lovely or porcelain fairies with some little toadstools!  What would you put in a spring jar? 
 Thanks for visiting!
Jenny


Easter Egg Chalkboard Place Cards

Share It:
Hi Friends!   I whipped up some Easter egg place cards recently and they were so easy and fun to make!  I feel like chalkboard is the craft/decor world's little black dress in that it is always appropriate and it will never go out of style! 

daysofchalkandchocolatechalkeggs5

While browsing through Wal-mart the other day I came across these plastic eggs. I like them because they are dyeable with regular egg dye and they don't open so there is no little line around the middle. Brilliant!

chalkboard eggs1

To spray paint the eggs with chalkboard paint, I placed them back in the egg carton but skipped every other section. This keeps them from flying away when the spray hits them. These eggs are very light.

daysofchalkandchocolatechalkeggs2

I sprayed the top half with a good coating of the chalkboard paint. 
easter chalkboard place cards
Let them dry. Once dry, flip each egg over and spray the other side.
easter chalkboard place cards

Once that half was dry, I used a chalk paint pen, available at most craft stores, to write each name. 

easter chalkboard place cards

I think these chalkboard place cards would be cute for Easter brunch or an informal dinner.

easter chalkboard place cards

The chalkboard theme gets carried to the centerpiece too. I painted a thrift store frame with chalk paint and sprayed the glass with chalkboard paint. It makes a cute tray for other little Easter decorations.

easter chalkboard place card


Thanks so much for visiting today!  You can always follow me these ways:

Facebook

Twitter

Instagram

Pinterest


Thank you!
Jenny 

DIY Easter Candy & Favor Bags

Share It:

With Easter on its way, I have been trying to think of a cute way to package some candy as a little treat for guests and my girls. Nothing overboard, just a little surprise for the end of the meal or as a take home favor. I created little paper favor bags with little more than some paper, my sewing machine, and some scissors!

paper favor bags

Of course, I couldn't settle on one of them so I made both! I used leftover wrapping paper and the pink toile just happened to be reversible which is great since you see a bit of the underside peeping from the top. I would use scrapbooking paper next time since wrapping paper has a tendency to curl.

For the pink favor bag, you begin by cutting out a rectangle, making it double the size you want your finished bag to be plus 1 more inch. So if you want a 5 inch long bag cut your rectangle 11 inches long.  If you want fancy edges, use your shaped scissors to cut just the short sides.  Next, fold the bottom of the rectangle up almost halfway. You'll want to leave an inch peeping out.

paper favor bags 002

Using a sewing machine with coordinating thread, sew around the two sides and the folded edge, stopping at the top. I sewed mine a 1/2  inch from the sides because I knew I was going to finish it with my shaped scissors. This gave me the extra to cut off without cutting the stitches.

paper favor bags 007
Isn't it sweet?  If you want you can fold the top inch down and over the contents. Seal it with a pretty sticker, maybe! I left mine open because I liked the blue peeping out.

paper favor bags 038 - Copy

The other paper favor bag option is to completely enclose the candy so that the kids have to rip into it! Fun! 

Cut out the shape of your choice x2. I chose an egg because it was going to be the easiest to sew. I tried a rabbit at first but that was a huge no-go. 
Wrong sides together, sew around your two egg pieces leaving an inch opening (or bigger if you want to add larger candies). Again, I sewed in about a 1/2 inch from the edge so I could trim the extra with fancy scissors. You don't have to do this though.
 After filling the egg with candy, sew up the opening, just as if you were making and stuffing a pillow.

favor bags 042


paper favor bags 055paper favor bags 057

I think the egg is perfect if you are traveling for Easter because nothing can fall out! I also thought adding a name tag to either of these makes them a cute place card in addition to being a sweet favor bag!

Thanks so much for visiting me today!  I love my readers and appreciate any comments or emails!  Let's chat!

 Plus, here are some other ways to stay in touch!

Facebook

Twitter

Instagram

Pinterest

Cheers!
Jenny

Washi Tape Crafts book review, project, and announcement!

Share It:
I received the book, Washi Tape Crafts, in exchange for this review. All opinions are 100% mine. This post may contain affiliate links.


diy-crafts-colorful-kids


I'm sure you are all familiar with washi tape, right?  Paper tape that comes in pretty designs which which you can decorate all sorts of stuff?  As usual, I'm late to the party because wow, I love this stuff now!  I wasn't sure about it though until I was asked to read/review Amy Anderson's book, Washi Tape Crafts.

washi-tape-crafts-book-review


Amy (of Mod Podge Rocks! fame) is a craft guru and I am not surprised that her book rocks, too!  It is filled with fun, sweet projects to jazz up your home, gifts, etc. The pictures are clear and the steps are easy to follow. I love that she includes a section in the beginning where she shares some basic tips, tricks, and techniques. Perfect for a novice taper such as myself!

The paperback edition comes with some cute rolls of coordinating tapes to get you started too.  Bonus!  I used those washi tapes to create some cheap but pretty desk accessories for Ellie. She is always carrying around and misplacing her drawing notebooks and pencils. I used a box and an old tin can, plus washi tape and the ideas I gleaned from Washi Tape Crafts to help her organize her things.


How cute are these?  She loves them too!

diy-desk-upcycle-crafts-art


pencil-cups-crafts-paper-tape


I found it adhered better when I overlapped each layer the slightest bit. Plus, be aware that the light colored tapes may be translucent and the material you are trying to cover may show through. I double wrapped those areas and that worked nicely!

Washi Tape Crafts would be a wonderful gift for a teen, teacher, or just anyone who is crafty.  I also think it is a great addition to your own library if you have kids or enjoy crafting yourself.

Now here is my announcement!  I'm so excited about it too.  I, along with these other amazing bloggers, will be co-hosting a link party!  Join us every Sunday night to link up your latest DIY, craft, recipe, or home project and to browse others' projects for new ideas!


See you on Sunday!
Cheers!
Jenny