Pumpkin Leaves Tutorial and Link Party Announcement
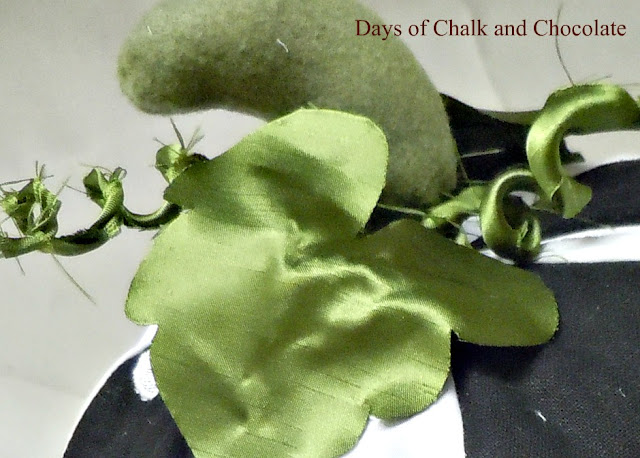
I don't have a mantle ready to be decorated. I don't have a huge front porch to have cascading pools of pumpkins and gourds. But what I do have is scrap fabric! So I decided to jazz up my pumpkins with some satin pumpkin leaves and curly vine tendrils to add a little something fun. They were easy and I already put them to use to hide the wonkiness of the stem on my fabric pumpkin I made this week. The best part is that they are wired to be bendy so you can manipulate them until you get the look you want!Step 1: Gather your materials. You will need a couple pieces of green silk, taffeta, satin, or whatever fabric you choose, floral wire, hot glue gun.
Step 2: Find or draw a pumpkin leaf shape. Cut it out and use this as your pattern. Trace your leaf shape on the back side of your fabric.
Step 3: Cut out leaves. I know you don't need a picture of that but nontheless here it is.
Step 4: Cut 4 -two inch pieces and 1-foot long piece of floral wire. These lengths are approximate. This all depends on your pumpkin leaf actually.
 |
| Sorry abou the extra wire. He sneaked into the picture. |
Step 5: Twist the 4 - two inch pieces onto the 1-foot long piece in various staggered places toward the top of the long wire to mimic the places on a leaf where the veins are. This is very forgiving and you can move, retwist, trim, etc. as needed.
 |
| primer on my fingers...sorry! |
Step 7: Use a long strip of fabric to cover the rest of the floral wire under the veins. This is your leaf stem. I hot glued the wire to the top of the fabric strip and then just twisted it around until the bottom where I glued it together again. If you don't want the fraying you can use green ribbon and it would look much neater. The frays don't bother me though.
Step 7: Using your hot glue gun, glue the wire to the back of the fabric leaf you cut out. I used a wooden skewer to mold the wires and keep it in the hot glue. It's important to center the stem properly in your leaf. Don't worry if your vein wires are too long. You can snip the ends off after the glue dries.
 |
| Blurry but you get the point |
Step 8: I made the tendrils by wrapping the leaf stem around the pumpkin stem and using my finger to curl the wire to make the tendrils. I also made some extra stems that I didn't attach to leaves and curled those as well.
I plan on making some more to use around a fall pumpkin vignette when or if I ever move into our new house.
Now I have to make like a pumpkin and
Cheers!
Jenny


Great tutorial Jenny! I think the leaves complete the pumpkin so beautifully.
ReplyDeleteHow cute in B&W. You crafty girl =) Happy punkin making!
ReplyDelete